How to Build a Login System Using JavaScript and Firebase (Step-by-Step Tutorial)
Learn How to Create a Login System Using JavaScript and Firebase: Step-by-Step Guide for Beginners:
Building a secure login system from scratch can be overwhelming — but with Firebase Authentication, you can add user sign-up and login to any JavaScript project in just minutes, with no backend server required.
In this step-by-step tutorial, you'll learn how to build a complete login and registration system using vanilla JavaScript and Firebase v10 (Modular SDK).
Table of Contents
- Create a Firebase Project
- Enable Email/Password Sign-In
- Build the HTML Login Page (index.html)
- Build the HTML Sign-Up Page (signup.html)
- Initialize Firebase (app.js)
- Add Sign-Up Functionality
- Add Login Functionality
- Persist Login Sessions with onAuthStateChanged
- Add Sign-Out
- Add Error Handling (User-Friendly Messages)
- Complete Code
- Conclusion
Prerequisites
- A free Google account to access Firebase Console.
- Basic knowledge of HTML, CSS, and JavaScript.
- A code editor like VS Code.
- A browser to test your app (Chrome recommended).
Introduction
Building a login system from scratch can be complex — but with Firebase Authentication, you can add secure sign-up and login to any JavaScript project in minutes. In this tutorial, you'll learn how to build a complete login and registration system using vanilla JavaScript and Firebase v9 (Modular SDK).
By the end of this guide, you will be able to:
- Set up Firebase Authentication in a JavaScript project.
- Create a sign-up and login form with HTML.
- Authenticate users with email and password.
- Persist login sessions automatically.
- Add a secure sign-out feature.
What Is Firebase Authentication?
Firebase Authentication is a backend service provided by Google that handles user identity securely. It supports Email/Password, Google, Facebook, GitHub, and many other sign-in methods — with no backend server required.
Why use Firebase for authentication?
- Free for most use cases (generous free tier).
- Handles token management, session persistence, and security automatically.
- Works with plain JavaScript, React, Vue, and more.
- Easy integration with other Firebase services like Firestore and Storage.
Project Folder Structure
my-login-app/
├── index.html       ← Login page
├── signup.html      ← Sign-up / Registration page
├── dashboard.html   ← Protected page (after login)
└── app.js           ← All Firebase logic
Step 1: Create a Firebase Project
- Visit console.firebase.google.com.
- Click "Add Project" and enter a project name (e.g.,
my-login-app). - Disable Google Analytics (optional for this project) and click Create Project.
- Once created, click the
</>(Web) icon on the project overview page. - Register your app with a nickname and click Register App.
- Copy the
firebaseConfigobject — you'll need this in Step 5.
💡 Tip: Keep your firebaseConfig in a separate
config file and add it to
.gitignore
if you're pushing to GitHub.
Step 2: Enable Email/Password Sign-In
- In the Firebase Console sidebar, go to Build → Authentication.
- Click on the "Sign-in method" tab.
- Click Email/Password, toggle it to Enable, and click Save
Your Firebase project is now ready to accept user registrations.
Step 3: Build the HTML Login Page (index.html & style.css)
The login page is the first page users see when they visit your app. In this step, you will
create two files —
index.html for the page structure and style.css for the visual styling — to build a clean, accessible login
form
connected to Firebase Authentication.
index.html sets up the login form with an email and password input, a
login button, and a link to the sign-up page for
new users.
style.css styles the form with a dark background, centered card layout,
and a yellow accent color
using CSS custom
properties and the Saira Google Font.
index.html
<!DOCTYPE html>
<html lang="en">

<head>
    <meta charset="UTF-8">
    <meta name="viewport" content="width=device-width, initial-scale=1.0">
    <title>Login | My App</title>
    <meta name="description" content="Login to access your account securely using Firebase Authentication." />

    <link rel="stylesheet" href="style.css">
</head>

<body>
    <main>
        <h1>Welcome Back</h1>
        <p>Log in to your account below.</p>

        <form action="" id="login-form">
            <div class="labels">
                <label for="email">Email Address</label>
                <input id="email" type="email" placeholder="your@example.com" required />

                <label for="password">Password</label>
                <input id="password" type="password" placeholder="Your password" required />
            </div>

            <button type="button" id="login-btn">Login</button>
        </form>

        <p class="signin">Don't have an account? <a href="signup.html">Sign Up for Free</a></p>
    </main>

    <script type="module" src="app.js"></script>
</body>

</html>
style.css
@import url('https://fonts.googleapis.com/css2?family=Poppins:wght@400;600;700&display=swap');
@import url('https://fonts.googleapis.com/css2?family=Edu+NSW+ACT+Hand+Pre:wght@400..700&family=Inter:ital,opsz,wght@0,14..32,100..900;1,14..32,100..900&family=Playwrite+AU+QLD:wght@100..400&family=Press+Start+2P&family=Ubuntu:ital,wght@0,300;0,400;0,500;0,700;1,300;1,400;1,500;1,700&display=swap');
@import url('https://fonts.googleapis.com/css2?family=Saira:ital,wght@0,100..900;1,100..900&display=swap');

:root {
    --dark-bg: #020617;
    --light-text: #f0f0f0;
    --color-yellow: #F2B50B;

    --font-h1: clamp(1.5rem, 2.5vw + 1rem, 1.875rem);
    --font-h2: clamp(1.2rem, 2vw + 0.8rem, 1.55rem);
}

* {
    margin: 0;
    padding: 0;
    box-sizing: border-box;
}


body {
    font-family: "Saira", sans-serif;
    color: var(--light-text);
    line-height: 1.6;
    overflow-x: hidden;
    position: relative;
    height: 100vh;
}

main {
    background: var(--dark-bg);
    max-width: 1200px;
    padding: 2rem;
    position: absolute;
    top: 50%;
    left: 50%;
    transform: translate(-50%, -50%);
    border-radius: 5px;
    box-shadow: 0 0 10px rgba(2, 6, 23, 0.8);
}

main h1 {
    text-align: center;
}

main p {
    text-align: center;
    margin-bottom: 20px;
    padding-bottom: 20px;
    border-bottom: #f0f0f0 1px solid;
}

.labels {
    display: flex;
    flex-direction: column;
    margin-bottom: 1.5rem;
}

#login-form label,
#signup-form label {
    margin-bottom: 0.5rem;
    font-weight: 500;
    text-transform: uppercase;
    letter-spacing: 0.05rem;
    margin-bottom: 0.5rem;
}

#login-form input,
#signup-form input {
    width: 100%;
    padding: 0.75rem 1rem;
    border: var(--dark-card-bg);
    border-radius: 5px;
    color: #2d3748;
    background-color: #f7fafc;
    transition: all 0.2s ease-in-out;
    font-size: 13px;
    margin-bottom: 20px;
}

#login-btn,
#signup-btn {
    background: var(--color-yellow);
    padding: 0.75rem 1rem;
    width: 100%;
    border: none;
    font-family: "Saira", sans-serif;
    color: var(--dark-bg);
    font-weight: 600;
    font-size: 16px;
    cursor: pointer;
    border-radius: 5px;
}

#login-btn:hover,
#signup-btn:hover {
    background: #FFC300;
}

.signup, .signin {
    margin-top: 14px;
}

.signin a,
.signup a {
    color: var(--color-yellow);
    text-decoration: none;
    font-weight: 500;
}

.signin a:hover,
.signup a:hover {
    text-decoration: underline;
    text-underline-offset: 5px;
}
Key points about these files:
- The
<label for="...">andlt;input id="...">& pairs are properly linked — required for screen reader accessibility and form usability. - CSS custom properties (
--dark-bg,--color-yellow) defined in:rootmake it easy to update the color scheme globally in one place. - The
position: absolutewithtransform: translate(-50%, -50%)centers the login card perfectly on all screen sizes. - The
type="module"attribute on the <script> tag enables ES6 import syntax needed for Firebase v9 +. - The
<a href="signup.html">Sign Up for Free</a>link provides clear internal navigation between the login and registration pages
In the next step, you will create the HTML Sign-Up Page.
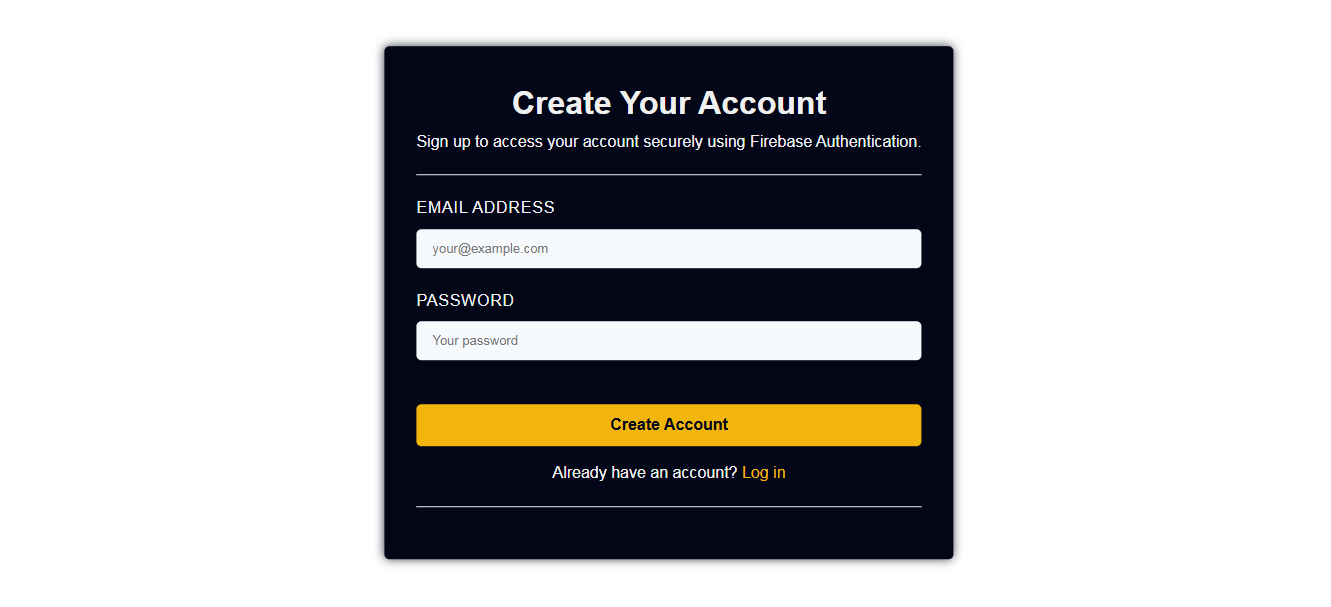
Step 4: Build the HTML Sign-Up Page (signup.html)
The sign-up page is where new users create their account. In this step, you will build a clean
signup.html file with an
email and password form connected to Firebase Authentication.
This page includes:
- A semantic
<h1>heading for page identity. - An accessible HTML form with
<label>and<input>pairs. - A Create Account button that triggers the Firebase sign-up function.
- A link back to the login page for existing users.
signup.html
<!DOCTYPE html>
<html lang="en">
<head>
  <meta charset="UTF-8" />
  <meta name="viewport" content="width=device-width, initial-scale=1.0"/>
  <title>Create Account | My App</title>
  <meta name="description" content="Create a free account to get started."/>
</head>
<body>

  <main>
    <h1>Create Your Account</h1>
    <p>Join thousands of users — sign up in seconds.</p>

    <form id="signup-form">
      abel for="email-signup">Email Address</label>
      <input id="email-signup" type="email" placeholder="you@example.com" required />

      abel for="password-signup">Password</label>
      <input id="password-signup" type="password" placeholder="Min. 6 characters" required />

      <button type="button" id="signup-btn">Create Account</button>
    </form>

    <p>Already have an account? <a href="index.html">Log In</a></p>
  </main>

  <script type="module" src="app.js"></script>
</body>
</html>
Key points about this file:
- The
lang="en"attribute on<html>improves accessibility and search indexing. - Each
<label>is linked to its<input>using matching for and id attributes — required for screen readers. - The
type="module"on the script tag allows ES6 import/export syntax used in Firebase v9+. - The
<a href="index.html">Log In</a>link provides internal navigation between the sign-up and login pages.
In the next step, you will wire this form to Firebase using the createUserWithEmailAndPassword()
function inside app.js.
Step 5: Initialize Firebase (app.js)
app.js is the heart of your Firebase setup. This single file connects
your
web app to Firebase by
loading the SDK
directly from Google's CDN — no npm, no build tools, no complex configuration needed. Once
initialized here, your
authentication service is ready to be used across all other scripts in your project.
app.js
// Import Firebase modules via CDN (no npm/build tools needed)
import { initializeApp } from "https://www.gstatic.com/firebasejs/10.8.0/firebase-app.js";
import {
  getAuth,
  createUserWithEmailAndPassword,
  signInWithEmailAndPassword,
  onAuthStateChanged,
  signOut
} from "https://www.gstatic.com/firebasejs/10.8.0/firebase-auth.js";

// Your Firebase configuration
const firebaseConfig = {
  apiKey: "YOUR_API_KEY",
  authDomain: "YOUR_PROJECT_ID.firebaseapp.com",
  projectId: "YOUR_PROJECT_ID",
  storageBucket: "YOUR_PROJECT_ID.appspot.com",
  messagingSenderId: "YOUR_SENDER_ID",
  appId: "YOUR_APP_ID"
};

// Initialize Firebase
const app = initializeApp(firebaseConfig);
const auth = getAuth(app);
Code Breakdown
Importing Firebase Modules via CDN
import { initializeApp } from "https://www.gstatic.com/firebasejs/10.8.0/firebase-app.js";
import {
  getAuth,
  createUserWithEmailAndPassword,
  signInWithEmailAndPassword,
  onAuthStateChanged,
  signOut
} from "https://www.gstatic.com/firebasejs/10.8.0/firebase-auth.js";
These two import statements load only the Firebase modules your app
actually needs — this is
called tree-shaking
(modular SDK). Instead of loading the entire Firebase library, you pull in specific functions,
which keeps your page
faster and lighter.
| Import | What it does |
|---|---|
initializeApp |
Bootstraps your Firebase project connection |
getAuth |
Returns the Auth service instance |
createUserWithEmailAndPassword |
Registers a new user with email & password |
signInWithEmailAndPassword |
Logs in an existing user |
onAuthStateChanged |
Listens for login/logout state changes in real time |
signOut |
Logs the current user out |
⚠️ Note: Because you're using import, your
<script>; tag in index.html must
have
type = "module" — e.g., <script type="module" src="app.js"></script>.
Firebase Configuration Object
const firebaseConfig = {
  apiKey: "YOUR_API_KEY",
  authDomain: "YOUR_PROJECT_ID.firebaseapp.com",
  projectId: "YOUR_PROJECT_ID",
  storageBucket: "YOUR_PROJECT_ID.appspot.com",
  messagingSenderId: "YOUR_SENDER_ID",
  appId: "YOUR_APP_ID"
};
This object is a unique identity card for your Firebase project. Every key here tells Firebase which project to connect to:
apiKey⟶ Identifies your project to Google's API gateway (not a secret; it's safe in frontend code).authDomain⟶ The domain used for OAuth popup/redirect sign-in flows.projectId⟶ Your unique Firebase project identifier.storageBucket⟶ Cloud Storage bucket URL (used if you add file uploads later).messagingSenderId⟶ Used for Firebase Cloud Messaging (push notifications).appId⟶ Unique ID for this specific web app registered in your project
🔑 Replace all "YOUR_..." placeholder values with the real values from your Firebase Console → Project Settings → Your Apps.
Initializing Firebase and Auth
const app = initializeApp(firebaseConfig);
const auth = getAuth(app);
These two lines do all the heavy lifting:
initializeApp(firebaseConfig)⟶ Reads your config object and starts a Firebase app instance. You only call this once in your entire project.getAuth(app)⟶ Attaches the Authentication service to your initialized app and returns an auth object. You'll pass this auth variable to every authentication function throughout your project (sign up, sign in, sign out).
Quick Mental Model
firebaseConfig  →  identifies YOUR project
initializeApp() →  starts the Firebase connection
getAuth()       →  gives you the authentication service
imported functions → the tools to sign up, log in, and track users
This setup file runs once when your page loads, and from that point forward, Firebase is ready to handle all user authentication in your app.
Step 6: Add Sign-Up Functionality
In Step 6, you add user registration to your web app using Firebase Authentication. Firebase's
createUserWithEmailAndPassword() method handles the entire account
creation process — it
validates the email format,
checks for duplicate accounts, enforces password strength, and securely stores the credentials
in Firebase's backend —
all with a single function call. Once the account is created successfully, the user is
redirected to the login page.
// ---- SIGN UP ----
const signupBtn = document.getElementById("signup-btn");

if (signupBtn) {
  signupBtn.addEventListener("click", () => {
    const email    = document.getElementById("email-signup").value.trim();
    const password = document.getElementById("password-signup").value.trim();

    createUserWithEmailAndPassword(auth, email, password)
      .then((userCredential) => {
        console.log("User created:", userCredential.user.email);
        alert("Account created successfully! Redirecting to login...");
        window.location.href = "index.html";
      })
      .catch((error) => {
        // Show user-friendly error messages
        handleAuthError(error);
      });
  });
}
Code Breakdown
// ---- SIGN UP ----
const signupBtn = document.getElementById("signup-btn");
Selects the Sign-Up button from the HTML using its id. This is the
button the user clicks to
register.
if (signupBtn) {
A safety check — ensures the button exists on the current page before attaching a listener. This prevents errors if this script runs on a page where the sign-up form is absent (e.g., the login page).
signupBtn.addEventListener("click", () => {
Attaches a click event listener to the button. The code inside runs only when the user clicks "Sign Up".
    const email    = document.getElementById("email-signup").value.trim();
    const password = document.getElementById("password-signup").value.trim();
Reads the email and password typed by the user from the HTML input fields. .trim() removes any accidental leading/trailing spaces — important for avoiding login issues later.
createUserWithEmailAndPassword(auth, email, password)
Calls Firebase's built-in method to create a new user account. It takes three arguments:
auth⟶ the initialized Firebase Auth instance.email⟶ the user's email address.password⟶ the user's password.
This is an asynchronous operation (it communicates with Firebase servers), so it returns a JavaScript Promise.
      .then((userCredential) => {
        console.log("User created:", userCredential.user.email);
        alert("Account created successfully! Redirecting to login...");
        window.location.href = "index.html";
      })
The .then() block runs only on success.
userCredential.user.email⟶ logs the newly registered user's email to the browser console for debuggingalert(...)⟶ shows the user a success message.window.location.href = "index.html"⟶ redirects the user to the login page after successful registration.
          .catch((error) => {
        handleAuthError(error);
      });
The .catch() block runs only if something goes wrong. Instead of
showing a raw Firebase error
code, it calls
handleAuthError(error) — a custom function (defined elsewhere in your
app) that translates
Firebase error codes like
auth/email-already-in-use or auth/weak-password into user-friendly messages.
Common Firebase Sign-Up Errors Handled
| Import / Error Code | What it does / Meaning |
|---|---|
initializeApp |
Bootstraps your Firebase project connection |
getAuth |
Returns the Auth service instance |
createUserWithEmailAndPassword |
Registers a new user with email & password |
signInWithEmailAndPassword |
Logs in an existing user |
onAuthStateChanged |
Listens for login/logout state changes in real time |
signOut |
Logs the current user out |
auth/email-already-in-use |
Account already exists with this email |
auth/invalid-email |
Email format is not valid |
auth/weak-password |
Password is less than 6 characters |
auth/operation-not-allowed |
Email/password sign-in not enabled in Firebase Console |
💡 Tip : Always enable Email/Password sign-in under Firebase Console → Authentication → Sign-in method before testing this code
Step 7: Add Login Functionality
In Step 7, you add user login to your web app using Firebase Authentication's
signInWithEmailAndPassword() method.
Unlike the sign-up step that creates a new account, login verifies existing credentials against
Firebase's secure
backend and grants the user access to protected pages like the dashboard. Once authenticated
successfully, the user is
automatically redirected to dashboard.html.
// ---- LOGIN ----
const loginBtn = document.getElementById("login-btn");

if (loginBtn) {
  loginBtn.addEventListener("click", () => {
    const email    = document.getElementById("email").value.trim();
    const password = document.getElementById("password").value.trim();

    signInWithEmailAndPassword(auth, email, password)
      .then((userCredential) => {
        console.log("Logged in as:", userCredential.user.email);
        window.location.href = "dashboard.html";
      })
      .catch((error) => {
        handleAuthError(error);
      });
  });
}
Code Breakdown
// ---- LOGIN ----
const loginBtn = document.getElementById("login-btn");
Selects the Login button from the HTML by its id. This is the button
the user clicks to submit
their credentials.
if (loginBtn) {
A safety guard — confirms the login button actually exists on the current page before registering
any event. This is
especially important when the same app.js file is shared across
multiple pages (sign-up, login,
dashboard).
loginBtn.addEventListener("click", () => {
Attaches a click event listener to the login button. Everything inside the arrow function runs only when the user clicks it.
    const email = document.getElementById("email").value.trim();
    const password = document.getElementById("password").value.trim();
Reads the email and password from the HTML input fields. .trim() strips
any accidental whitespace
— without this,
"user@email.com " (with a trailing space) would fail to match the
stored credential and cause an
unnecessary login
error.
signInWithEmailAndPassword(auth, email, password)
Calls Firebase's built-in login method. It takes three arguments:
auth⟶ the initialized Firebase Auth instance.email⟶ the email entered by the user.password⟶ the password entered by the user.
This is asynchronous — it contacts Firebase servers to verify the credentials and returns a Promise.
      .then((userCredential) => {
        console.log("Logged in as:", userCredential.user.email);
        window.location.href = "dashboard.html";
      })
The .then() block runs only when login is successful.
userCredential.user.email⟶ logs the authenticated user's email to the browser console, useful for debuggingwindow.location.href = "dashboard.html"⟶ redirects the user to the protected dashboard page after a successful login.
      .catch((error) => {
        handleAuthError(error);
      });
The .catch() block runs only when login fails. It passes the Firebase
error object to
handleAuthError() — your custom
function that converts raw Firebase error codes into clear, readable messages shown to the user.
Common Firebase Login Errors Handled
| Import / Error Code | What it does / Meaning |
|---|---|
initializeApp |
Bootstraps your Firebase project connection |
getAuth |
Returns the Auth service instance |
createUserWithEmailAndPassword |
Registers a new user with email & password |
signInWithEmailAndPassword |
Logs in an existing user |
onAuthStateChanged |
Listens for login/logout state changes in real time |
signOut |
Logs the current user out |
auth/email-already-in-use |
Account already exists with this email |
auth/invalid-email |
Email format is not valid |
auth/weak-password |
Password is less than 6 characters |
auth/operation-not-allowed |
Email/password sign-in not enabled in Firebase Console |
auth/user-not-found |
No account exists with this email |
auth/wrong-password |
Password is incorrect |
auth/user-disabled |
Account has been disabled in Firebase Console |
auth/too-many-requests |
Too many failed attempts — account temporarily locked |
Sign-Up vs Login: Key Difference
| Feature | Step 6 — Sign Up | Step 7 — Login |
|---|---|---|
| Firebase Method | createUserWithEmailAndPassword() |
signInWithEmailAndPassword() |
| Action | Creates a new user account | Verifies existing credentials |
| On Success Redirect | index.html (Login page) |
dashboard.html (Protected page) |
| Input Fields Used | email-signup, password-signup |
email, password |
💡 Tip; After a successful login, Firebase automatically stores the user session in the browser. You can use onAuthStateChanged(auth, (user) => {...}) on your dashboard page to verify the session and block unauthenticated access.
Step 8: Persist Login Sessions with onAuthStateChanged
One of Firebase Authentication's most powerful built-in features is automatic session persistence. Firebase stores the user's login state in the browser's local storage by default, so users stay logged in even after closing and reopening the browser tab — without any extra code on your part.
onAuthStateChanged is a real-time auth state listener that Firebase
provides to detect whether a
user is currently logged in or not on every page load. This makes it the ideal place to control
page access, redirects, and UI personalization across your entire web app.
// ---- AUTH STATE LISTENER ----
onAuthStateChanged(auth, (user) => {
  if (user) {
    // User is signed in
    console.log("Active user:", user.email);
    // Optional: auto-redirect logged-in users away from login page
    if (window.location.pathname.includes("index.html")) {
      window.location.href = "dashboard.html";
    }
  } else {
    // No user is signed in
    console.log("No active session.");
  }
});
Code Breakdown
// ---- AUTH STATE LISTENER ----
onAuthStateChanged(auth, (user) => {
Registers a persistent listener on the Firebase Auth instance (auth).
Firebase calls this
callback function
automatically in two situations:
- When the page first loads (to check for an existing session).
- Whenever the auth state changes (login, logout, token refresh).
The user parameter is either a Firebase User object (if logged in)
or null (if not).
if (user) {
// User is signed in
console.log("Active user:", user.email);
If user is not null, it means a valid session exists.
user.email⟶ logs the currently logged-in user's email to the console- You can also access other user properties here such as
user.uid(unique ID),user.displayName, anduser.emailVerified.
    // Optional: auto-redirect logged-in users away from login page
    if (window.location.pathname.includes("index.html")) {
      window.location.href = "dashboard.html";
    }
This is an auto-redirect guard — a common UX pattern. It checks if the user is currently on the
login page (index.html)
while already being logged in, and immediately sends them to dashboard.html instead. This
prevents authenticated users
from seeing the login form unnecessarily.
| Condition | Result |
|---|---|
Logged in + on index.html |
Redirected to dashboard.html |
Logged in + on dashboard.html |
Stays on dashboard.html |
Not logged in + on index.html |
Stays on login page |
  } else {
    // No user is signed in
    console.log("No active session.");
  }
});
If user is null, no active session
exists. This block is where you typically:
- Redirect the user to the login page if they try to access a protected page.
- Hide authenticated-only UI elements (e.g., navbar profile icon, dashboard content).
A common protected-route pattern to add here:
  } else {
    console.log("No active session.");
    // Protect dashboard from unauthenticated access
    if (window.location.pathname.includes("dashboard.html")) {
      window.location.href = "index.html";
    }
  }
💡 Best Practice: Place this listener at the top level of your app.js so it runs on every page load across your entire app.
Step 9: Add Sign-Out
Every secure web app needs a reliable sign-out mechanism. Firebase's signOut() method does more
than just clear the UI —
it invalidates the user's authentication token and removes the session from the browser's local
storage, ensuring the
user is fully logged out. This prevents unauthorized access if someone else opens the same
browser later.
In this step, you wire up a Logout button on your dashboard.html so that clicking it cleanly ends the session and redirects the user back to the login page.
// ---- SIGN OUT ----
const logoutBtn = document.getElementById("logout-btn");

if (logoutBtn) {
  logoutBtn.addEventListener("click", () => {
    signOut(auth)
      .then(() => {
        alert("You have been logged out.");
        window.location.href = "index.html";
      })
      .catch((error) => {
        console.error("Sign-out error:", error.message);
      });
  });
}
Step 10: Add Error Handling (User-Friendly Messages)
Raw Firebase error codes like auth/email-already-in-use or auth/wrong-password are technical
strings designed for
developers — not end users. Displaying them directly in your app creates a poor user experience
and can confuse or
frustrate your users. The handleAuthError() helper function solves
this by acting as a
translation layer — it maps every
Firebase error code to a clear, human-readable message that guides users toward fixing the
problem. This is one of the
most important UX improvements you can make to any Firebase-powered login or sign-up flow.
// ---- ERROR HANDLER ----
function handleAuthError(error) {
  const errorMessages = {
    "auth/email-already-in-use":  "This email is already registered. Try logging in.",
    "auth/invalid-email":          "Please enter a valid email address.",
    "auth/weak-password":          "Password must be at least 6 characters.",
    "auth/user-not-found":         "No account found with this email.",
    "auth/wrong-password":         "Incorrect password. Please try again.",
    "auth/too-many-requests":      "Too many attempts. Please try again later."
  };

  const message = errorMessages[error.code] || "Something went wrong. Please try again.";
  alert(message);
  console.error(error.code, error.message);
}
Code Breakdown
This function provides user-friendly error messages instead of showing raw Firebase error codes to users.
Function Declaration
function handleAuthError(error) {
Defines a function named handleAuthError that accepts an error object
from Firebase. This error
object contains two key
properties: error.code (e.g., auth/weak-password) and error.message
(Firebase's default
technical description).
The Error Messages Object
const errorMessages = {
  "auth/email-already-in-use":  "This email is already registered. Try logging in.",
  "auth/invalid-email":          "Please enter a valid email address.",
  "auth/weak-password":          "Password must be at least 6 characters.",
  "auth/user-not-found":         "No account found with this email.",
  "auth/wrong-password":         "Incorrect password. Please try again.",
  "auth/too-many-requests":      "Too many attempts. Please try again later."
};
This is a JavaScript object used as a lookup table (also called a dictionary or map). Each key is a Firebase error code, and each value is a friendly human-readable message.
The Message Selection
const message = errorMessages[error.code] || "Something went wrong. Please try again.";
Display and Logging
alert(message);
console.error(error.code, error.message);
alert(message)⟶ Shows the friendly message to the user in a browser popup.console.error(error.code, error.message)⟶ Logs the raw Firebase error to the browser console (F12 → Console tab) for developer debugging. The user never sees this, but it helps you troubleshoot issues during development.
Full app.js File (Complete Code)
Here is the complete app.js file combining all steps:
import { initializeApp } from "https://www.gstatic.com/firebasejs/10.8.0/firebase-app.js";
import {
  getAuth,
  createUserWithEmailAndPassword,
  signInWithEmailAndPassword,
  onAuthStateChanged,
  signOut
} from "https://www.gstatic.com/firebasejs/10.8.0/firebase-auth.js";

const firebaseConfig = {
  apiKey: "YOUR_API_KEY",
  authDomain: "YOUR_PROJECT_ID.firebaseapp.com",
  projectId: "YOUR_PROJECT_ID",
  storageBucket: "YOUR_PROJECT_ID.appspot.com",
  messagingSenderId: "YOUR_SENDER_ID",
  appId: "YOUR_APP_ID"
};

const app  = initializeApp(firebaseConfig);
const auth = getAuth(app);

// Sign Up
const signupBtn = document.getElementById("signup-btn");
if (signupBtn) {
  signupBtn.addEventListener("click", () => {
    const email    = document.getElementById("email-signup").value.trim();
    const password = document.getElementById("password-signup").value.trim();
    createUserWithEmailAndPassword(auth, email, password)
      .then(uc => { alert("Account created!"); window.location.href = "index.html"; })
      .catch(handleAuthError);
  });
}

// Login
const loginBtn = document.getElementById("login-btn");
if (loginBtn) {
  loginBtn.addEventListener("click", () => {
    const email    = document.getElementById("email").value.trim();
    const password = document.getElementById("password").value.trim();
    signInWithEmailAndPassword(auth, email, password)
      .then(uc => { window.location.href = "dashboard.html"; })
      .catch(handleAuthError);
  });
}

// Auth State
onAuthStateChanged(auth, (user) => {
  if (user) console.log("Logged in:", user.email);
  else console.log("Not logged in");
});

// Sign Out
const logoutBtn = document.getElementById("logout-btn");
if (logoutBtn) {
  logoutBtn.addEventListener("click", () => {
    signOut(auth).then(() => { window.location.href = "index.html"; });
  });
}

// Error Handler
function handleAuthError(error) {
  const msgs = {
    "auth/email-already-in-use": "Email already registered.",
    "auth/invalid-email":         "Invalid email address.",
    "auth/weak-password":         "Password too short (min 6 chars).",
    "auth/user-not-found":        "No account with this email.",
    "auth/wrong-password":        "Incorrect password.",
    "auth/too-many-requests":     "Too many attempts. Try later."
  };
  alert(msgs[error.code] || "An error occurred. Please try again.");
}
What's Next? (Extend Your Project)
Once your basic login system is working, here are powerful next steps:
| Feature | Firebase Method | Description |
|---|---|---|
| Google Sign-In | GoogleAuthProvider + signInWithPopup() |
One-click OAuth login |
| Password Reset | sendPasswordResetEmail() |
Email-based recovery |
| Save User Profile | Firestore + setDoc() |
Store name, avatar, etc. |
| Protected Routes | onAuthStateChanged guard |
Restrict dashboard access |
| Email Verification | sendEmailVerification() |
Verify user email on sign-up |
Project Conclusion
Congratulations on building a complete, production-ready Login System using JavaScript and Firebase Authentication! This project takes you through the full authentication lifecycle — from setting up Firebase and writing HTML pages to handling sessions, errors, and redirects — all without a backend server.
What You Built
The repository contains five well-structured files, each with a clear responsibility:
| File | Purpose |
|---|---|
index.html |
Login page — entry point for returning users |
signup.html |
Registration page — new user account creation |
dashboard.html |
Protected page — accessible only after login |
app.js |
Core logic — Firebase init, auth functions, session handling |
style.css |
Styling — consistent UI across all pages |
Key Skills You Gained
By completing this project, you have hands-on experience with:
- Integrating Firebase Authentication into a vanilla JavaScript web app.
- Using
createUserWithEmailAndPassword()andsignInWithEmailAndPassword()for user management. - Persisting login sessions across page reloads with
onAuthStateChanged(). - Implementing route protection — redirecting unauthenticated users away from protected pages.
- Writing a reusable
handleAuthError()function for clean, user-friendly error messages. - Structuring a multi-page web project with GitHub-ready folder organization.
What You Can Add Next?
This project is a strong foundation. Consider these enhancements to take it further:
- Google / GitHub OAuth ⟶ Add social login using
signInWithPopup()for one-click login. - Email Verification ⟶ Call
user.sendEmailVerification()after sign-up to verify user emails. - Password Reset ⟶ Add a "Forgot Password" link using
sendPasswordResetEmail(). - Firestore Integration ⟶ Store user profile data (name, avatar, role) in Firebase Firestore.
- Toast Notifications ⟶ Replace
alert()with a toast library like Toastify for a polished UX. - Deploy to Firebase Hosting ⟶ Host the project live for free using firebase deploy.
🔗 GitHub Repository: login-system-using-javascript-&-firebase — Star ⭐ the repo to keep it accessible and showcase it in your portfolio.
Frequently Asked Questions (FAQ)
Q1: Is Firebase Authentication free?
Yes. Firebase's Spark (free) plan supports up to 10,000 monthly active users with Email/Password auth.
Q2: Can I use this with React?
Absolutely. Replace DOM selectors with useState/useEffect hooks and call
the same Firebase methods
inside your
components.
Q3: Is my API key safe to expose in the frontend?
The Firebase API key is safe to include in frontend code — it only identifies your project. Protect your data using Firebase Security Rules in the console.
Q4: What version of Firebase SDK is this tutorial using?
This tutorial uses Firebase v10 (Modular SDK), which uses tree-shakable ES module imports for better performance.
✅ You now have a fully working login and registration system powered by Firebase Authentication. The same logic applies directly to React — just swap document.getElementById with React state and you're good to go!
Other Projects
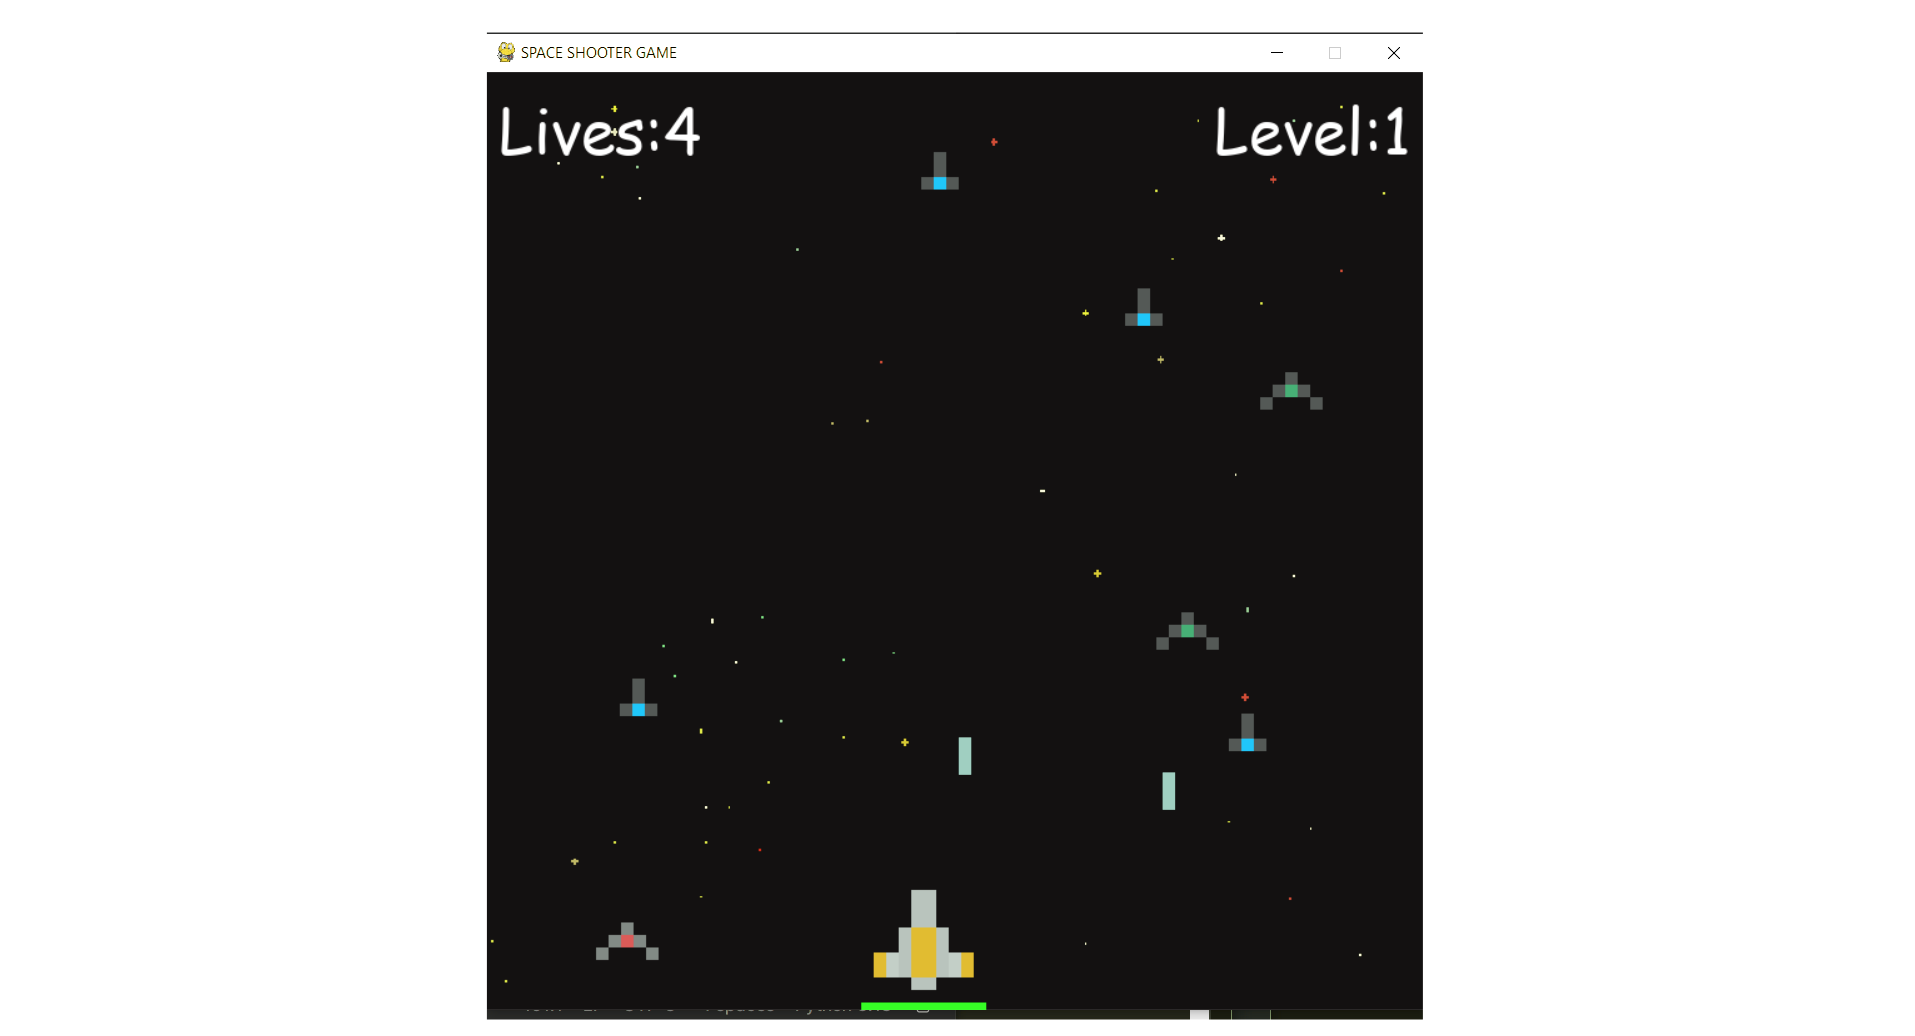
Shooter Game
This is a beginner-friendly guide for building a Space Shooter game with Python and Pygame, covering coding concepts and project structure.
View Project →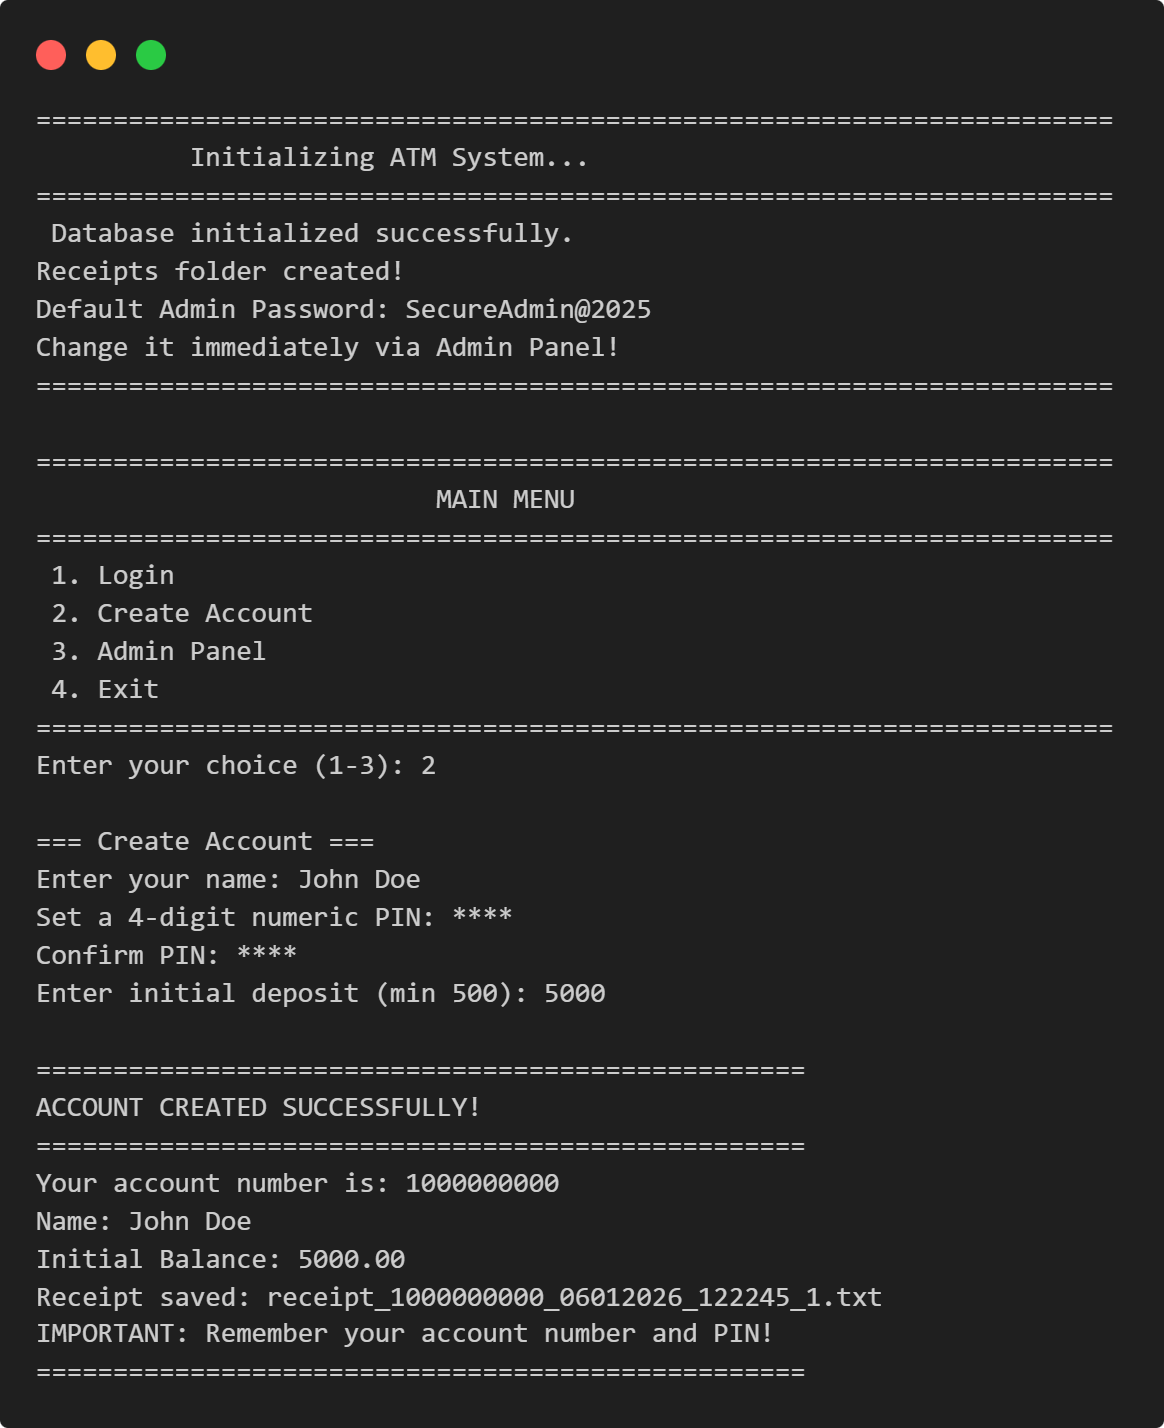
ATM Management System
This Python application implements a multi-user ATM system with SQLite-backed persistence, featuring account management, financial transactions, and administrative controls.
View Project →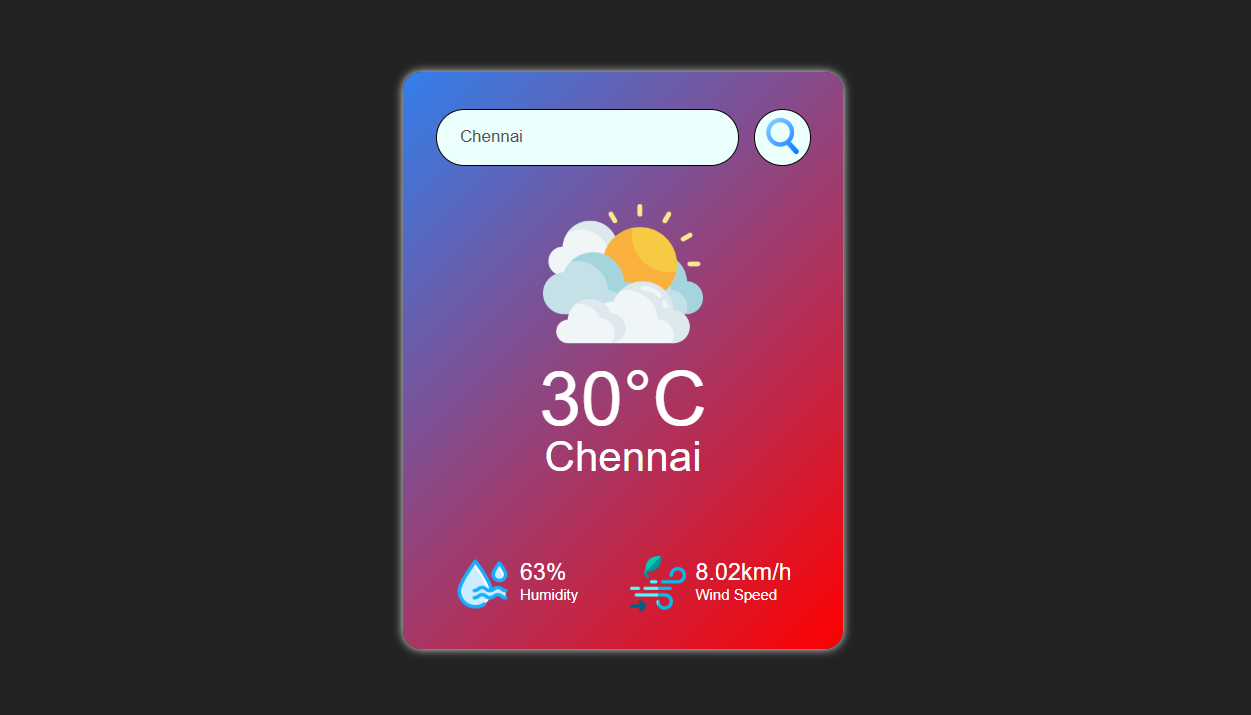
Weather App
Responsive weather app with real-time API data, feature comparison, and intuitive design for global city forecasts.
View Project →
Team Card App
Interactive team card application for cricket, featuring dynamic team selection, player filters, and customizable light/dark themes.
View Project →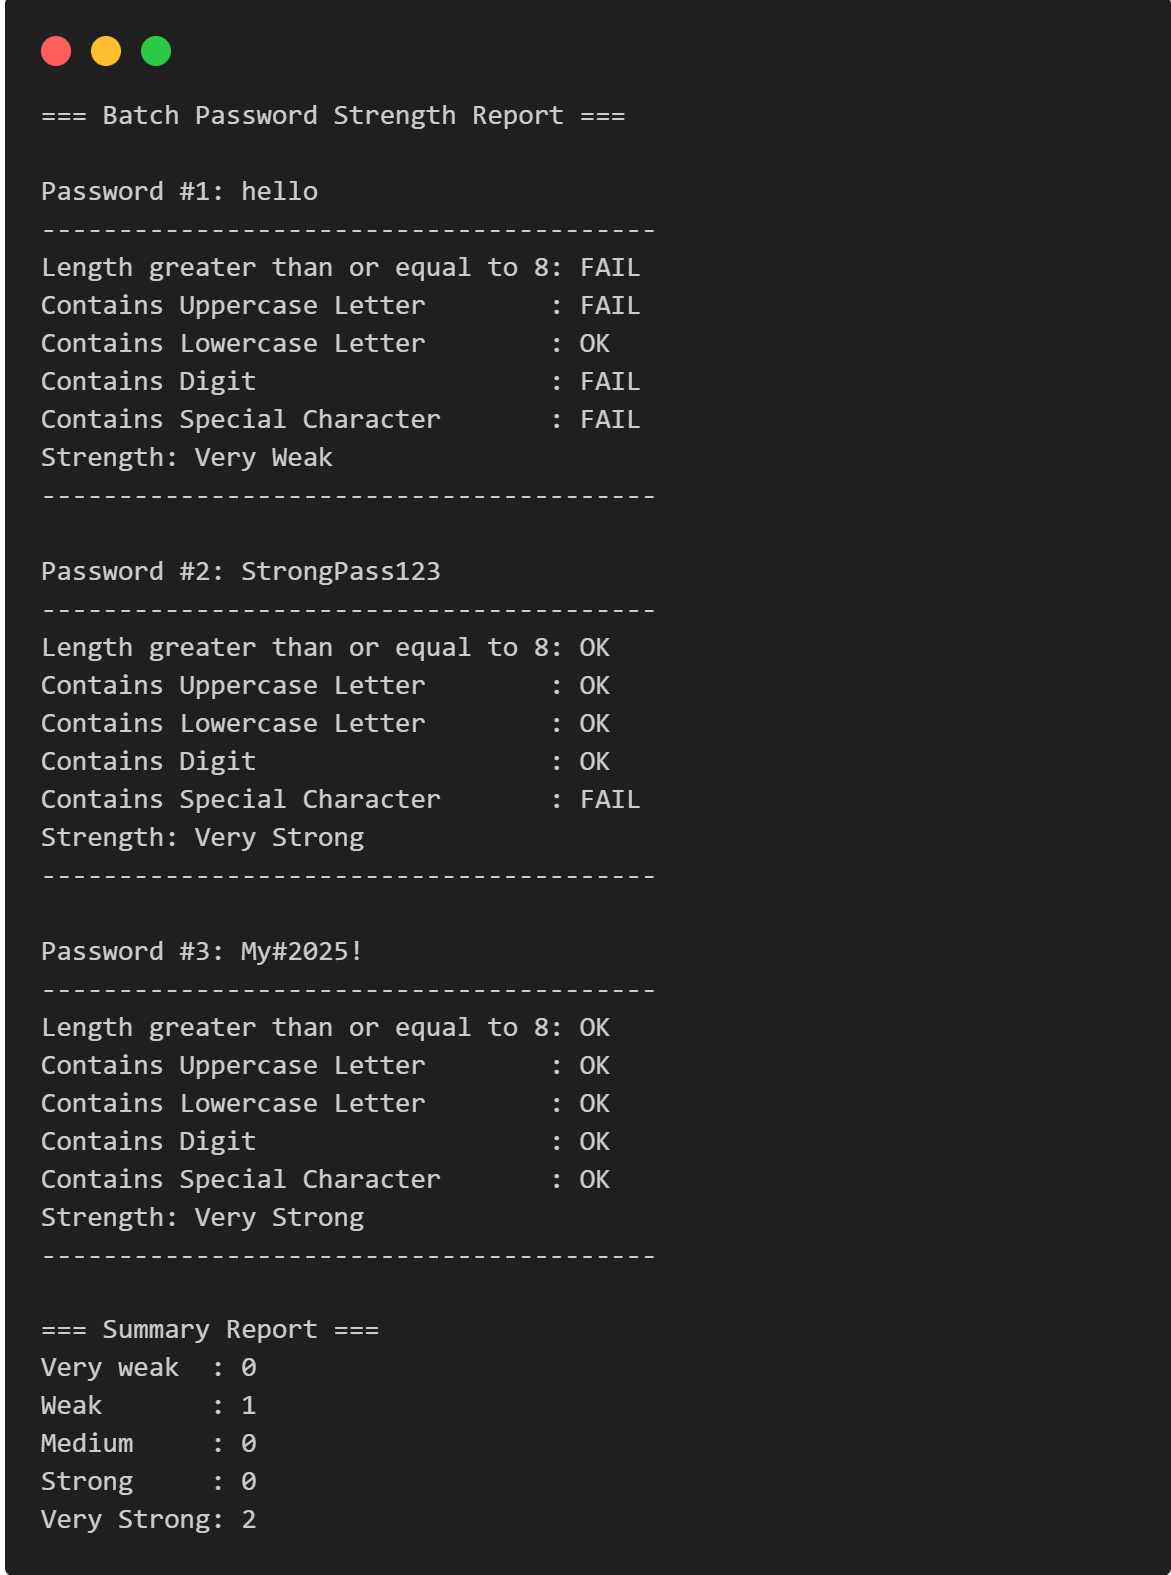
Password Strength Checker
Multi-Password Batch Strength Checker (C++), designed to check multiple passwords at once, show individual strength, and provide a summary report.
View Project →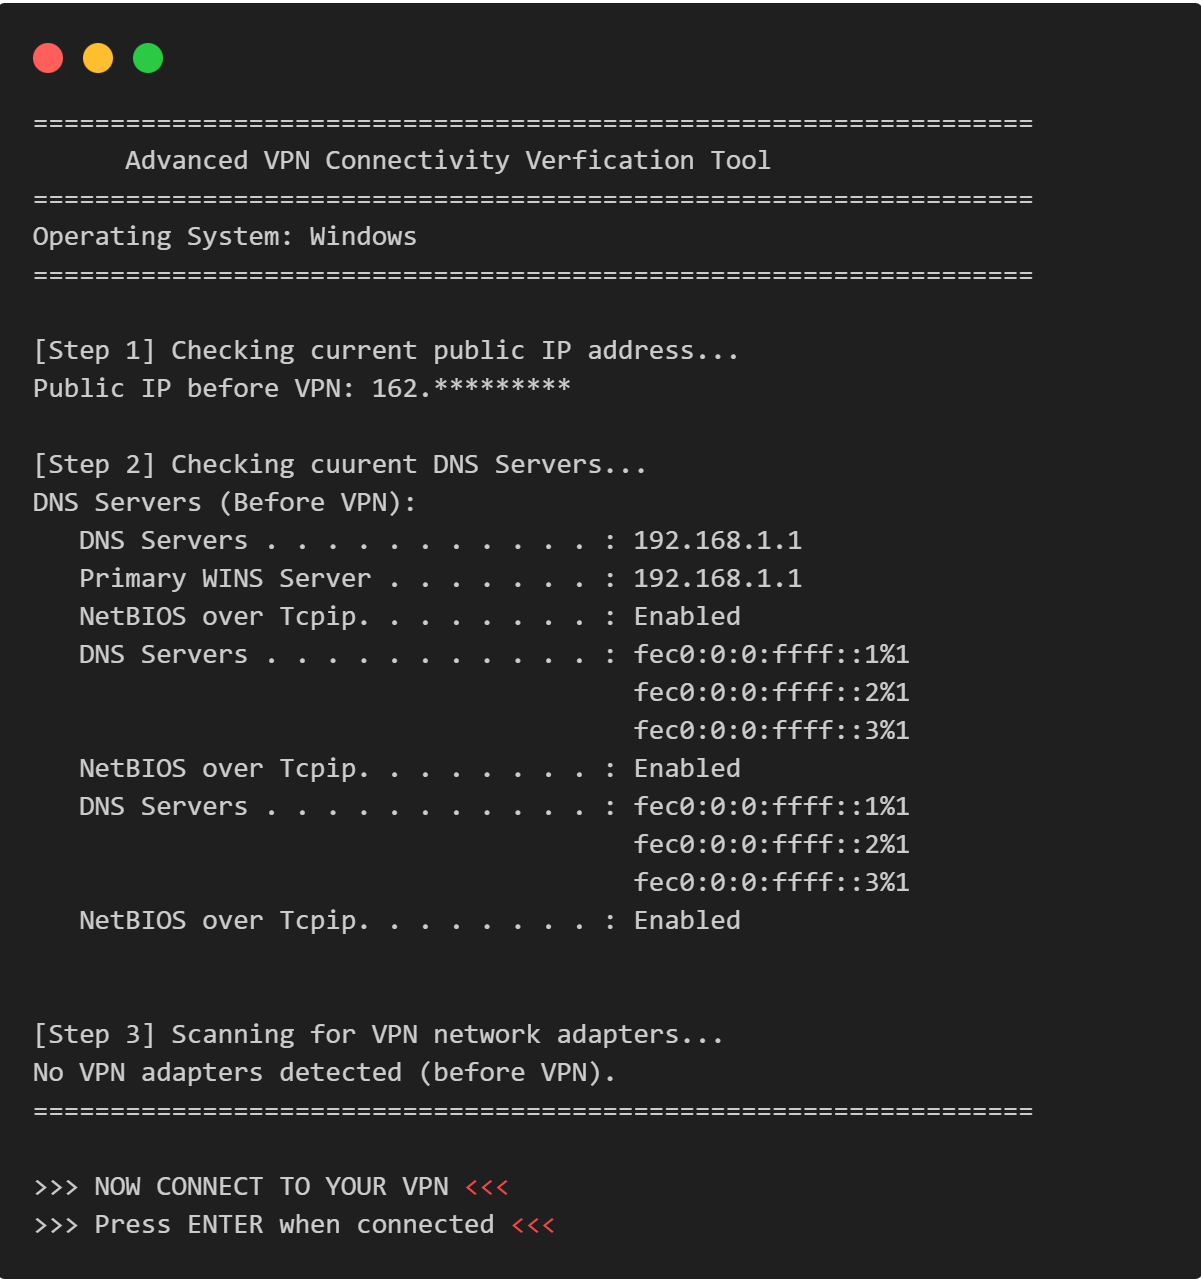
VPN Connectivity verification in C
Efficient C program to verify VPN status, routing, and DNS configurations through comprehensive public IP and network adapter analysis.
View Project →