How to Implement Google Sign-In with Firebase JavaScript
Keywords: Google Sign-In Firebase JavaScript | Firebase Google authentication tutorial | signInWithPopup Firebase | Firebase GoogleAuthProvider | implement Google login JavaScript
If you have ever abandoned a signup form because it asked for too many details, you already understand why Sign in with Google is the most clicked button on the modern web. Users trust it, browsers autofill it, and Firebase makes it possible in fewer lines of JavaScript — no backend server, no OAuth configuration from scratch, no database setup required.
This is Part 2 of the DevspireHub Firebase Authentication Series — building directly on the email/password login system from the previous tutorial and adding Google Sign-In as a one-click alternative.
Why Add Google Sign-In to Your App?
- One-click login — no password to remember
- Pre-verified email — Google already confirmed it
- Profile data included — name, photo, email, UID
- Works on all browsers — desktop and mobile
- Completely free — no Firebase billing required
- No backend needed — Firebase handles everything
What You Will Build
By the end of this tutorial your app will have a fully working Sign in with Google button that:
- Opens a Google account selection popup (
signInWithPopup). - Supports full-page redirect for mobile browsers (
signInWithRedirect). - Reads the user's display name, email, and profile photo from Google.
- Shows the profile on a protected dashboard page.
- Handles sign-out correctly for Google-authenticated users.
- Catches and displays all common Google auth errors gracefully.
Two Methods Firebase Provides
| Method | How It Works | Best For |
|---|---|---|
| signInWithPopup ⭐ | Opens a Google login popup window | Desktop, SPAs, most web apps |
| signInWithRedirect | Redirects entire page to Google then back | Mobile browsers, PWAs |
What Data Google Sign-In Returns
javascript
const user = result.user;

user.displayName  // ⟶  "Kumaradoss S"
user.email        // ⟶  "user@gmail.com"
user.photoURL     // ⟶  "https://lh3.googleusercontent.com/..."
user.uid          // ⟶  "unique Firebase user ID"
No extra database call needed — Google sends all of this in the authentication response.
Table of Contents
- Enable Google Sign-In in Firebase Console
- Add the Authorized Domain
- Update Your HTML (index.html)
- Import Google Auth Modules in app.js
- Implement Google Sign-In with Popup
- Google Sign-In with Redirect (Alternative)
- Display User Profile on Dashboard
- Sign Out Google Users
- Customize the Google Provider (Optional)
- Handle Google Auth Errors
- Conclusion
Prerequisites
Before starting, make sure you have:
- Completed the Firebase Email/Password Login tutorial.
- Firebase project created at console.firebase.google.com.
- Firebase JS SDK v10 (modular) already imported via CDN.
- Your firebaseConfig object set up in app.js.
- Basic JavaScript knowledge (async/await, DOM events).
💡 Tutorial: Review the Login System by Firebase and JavaScript on DevspireHub before starting this guide.
Introduction
Google Sign-In is one of the most popular authentication methods on the web. With Firebase Authentication and GoogleAuthProvider, you can add a fully functional "Sign in with Google" button to your app in just a few lines of code — no backend server required.
Google Sign-In is an authentication service that lets users log into third-party websites and apps using their existing Google account, eliminating the need to create a separate username and password. It is built on two open standards: OAuth 2.0 (authorization) and OpenID Connect (identity layer on top of OAuth 2.0). [ 1 ]
Core Concepts
Before the flow, understand three key terms:
- Authentication (AuthN) — Who are you? Confirms your identity (login).
- Authorization (AuthZ) — What can you access? Grants permissions to data. [ 2 ]
- ID Token — A JWT (JSON Web Token) Google issues to prove your identity to the app. [ 3 ]
- Access Token — A short-lived credential that lets the app access your Google data (Drive, Gmail, etc.).
Google Sign-In separates these two concerns deliberately — authentication returns only an ID token, authorization returns access/code tokens — keeping them clean and secure.
How Google Sign-In Works — Step by Step
Step 1 — User Clicks "Sign in with Google"
The app renders a Google-hosted button (an <iframe> injected by Google's JS SDK). The user clicks it, triggering the OAuth 2.0 flow.
https://accounts.google.com/o/oauth2/v2/auth?
  client_id=YOUR_CLIENT_ID
  &redirect_uri=https://yourapp.com/callback
  &response_type=code
  &scope=openid email profile
  &state=random_csrf_token
| Parameter | Purpose |
|---|---|
client_id |
Identifies your app (from Google Cloud Console) |
redirect_uri |
Where Google sends the user after login |
scope |
What data you're requesting (openid, email, profile) |
state |
CSRF protection token |
Step 3 — Google Authenticates the User
Google shows its own login/password page (your app never sees the password). If the user is already logged in, this step is skipped. If 2FA is enabled, Google handles it entirely. [ 4 ]
Step 4 — Consent Screen
Google displays a consent screen listing exactly what the app is requesting (e.g., "See your name, email address"). The user approves or denies. [ 1 ]
Step 5 — Google Returns an Authorization Code
After consent, Google redirects back to your redirect_uri with a one-time authorization code:
https://yourapp.com/callback?code=4/P7q7W91a-oMsCeLvIaQm6bTrgtp7&state=random_csrf_token
Step 6 — Backend Exchanges Code for Tokens
Your server (never the browser) sends the code to Google's token endpoint:
POST https://oauth2.googleapis.com/token
  code=4/P7q7W91...
  client_id=YOUR_CLIENT_ID
  client_secret=YOUR_CLIENT_SECRET   ← Never exposed to frontend
  redirect_uri=https://yourapp.com/callback
  grant_type=authorization_code
Google responds with:
json
{
  "id_token": "eyJhbGciOiJSUzI1NiJ9...",   ← Proves identity
  "access_token": "ya29.A0ARrdaM...",        ← Access Google APIs
  "refresh_token": "1//04...",               ← Get new tokens silently
  "expires_in": 3599
}
Step 7 — Validate the ID Token
Your backend validates the ID token by verifying its signature against Google's public keys, ensuring it wasn't tampered with.
The decoded token contains:
json
{
  "sub": "1234567890",          ← Unique Google user ID
  "email": "user@gmail.com",
  "name": "Wave Function",
  "picture": "https://...",
  "iss": "https://accounts.google.com",
  "aud": "YOUR_CLIENT_ID",
  "exp": 1711234567
}
Step 8 — Session Created
Your app uses the sub (subject) field as the unique user identifier, creates a session or JWT of its own, and the user is now logged in.
Token Lifecycle
Access Token  ⟶   expires in ~1 hour   ⟶   use Refresh Token to get new one
Refresh Token ⟶   long-lived           ⟶   stored securely server-side
ID Token      ⟶   one-time use         ⟶   validate once, discard
When the access token expires, the app silently uses the refresh token to get a new one — the user never has to log in again.
Popup vs. Redirect — Which Should You Use?
Firebase provides two methods for Google Sign-In. Choose based on your target platform:
| Method | How It Works | Best For |
|---|---|---|
signInWithPopup() |
Opens a Google login popup window | Desktop browsers, SPAs |
signInWithRedirect() |
Redirects the entire page to Google, then back | Mobile browsers, PWAs |
💡 Firebase recommends signInWithPopup() for most web apps since several modern browsers block cross-origin storage access required by signInWithRedirect().
Step 1: Enable Google Sign-In in Firebase Console
- Go to console.firebase.google.com
- Navigate to Build ⟶ Authentication ⟶ Sign-in method
- Click Google under the "Native providers" section
- Toggle it to Enable
- Set a Project support email (required by Google OAuth)
- Click Save
Step 2: Add the Authorized Domain
Firebase only allows Google Sign-In from pre-approved domains.
- In Authentication, click the Settings tab.
- Under Authorized domains, verify that localhost is listed (for local dev)./li>
- When deploying, add your live domain (e.g., myapp.com) here as well.
Step 3: Update Your HTML (index.html)
Add a dedicated "Sign in with Google" button alongside your existing email/password form:
index.html
<!DOCTYPE html>
<html lang="en">
<head>
<meta charset="UTF-8" />
<meta name="viewport" content="width=device-width, initial-scale=1.0"/>
<title>Login | My App</title>
<meta name="description" content="Sign in to your account using email/password or Google." />
</head>
<body>
<main>
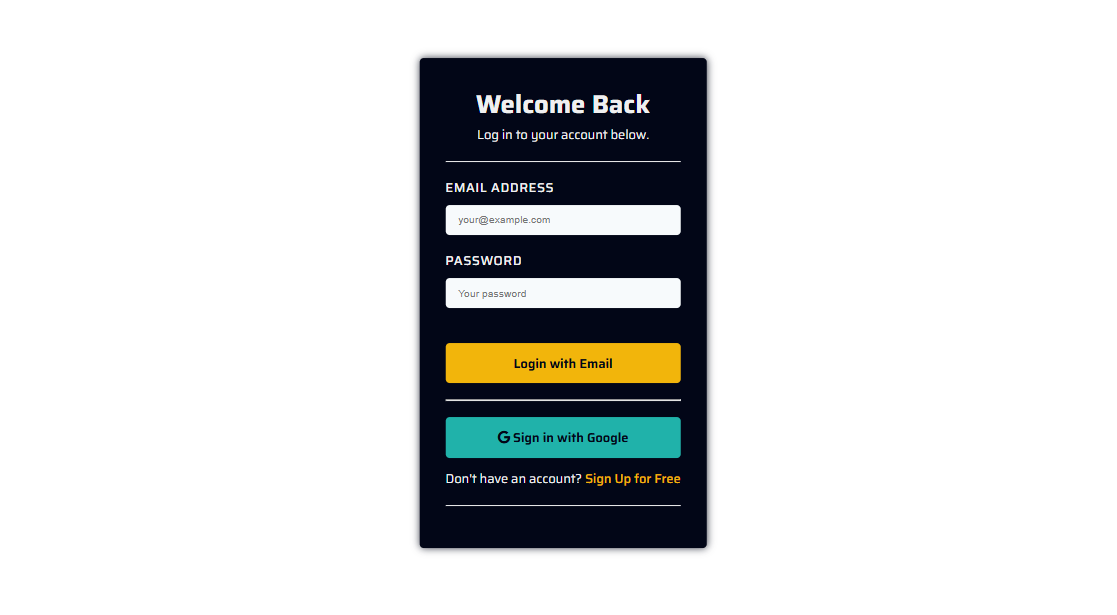
<h1>Welcome Back</h1>
<!-- Email/Password Login (from previous tutorial) -->
<form id="login-form">
<label for="email">Email Address</label>
<input id="email" type="email" placeholder="you@example.com" required />
<label for="password">Password</label>
<input id="password" type="password" placeholder="Your password" required />
<button type="button" id="login-btn">Login with Email</button>
</form>
<hr />
<!-- Google Sign-In Button -->
<button id="google-signin-btn">
🔵 Sign in with Google
</button>
<p>Don't have an account? <a href="signup.html">Sign Up for Free</a></p>
</main>
<script type="module" src="app.js"></script>
</body>
</html>
Step 4: Import Google Auth Modules in app.js
Add GoogleAuthProvider and signInWithPopup to your existing Firebase imports:
app.js
import { initializeApp } from "https://www.gstatic.com/firebasejs/10.8.0/firebase-app.js";
import {
  getAuth,
  GoogleAuthProvider,        // ← Google provider
  signInWithPopup,            // ← Popup method
  signInWithRedirect,         // ← Redirect method (optional)
  getRedirectResult,          // ← To retrieve redirect result
  onAuthStateChanged,
  signOut
} from "https://www.gstatic.com/firebasejs/10.8.0/firebase-auth.js";

const firebaseConfig = {
  apiKey: "YOUR_API_KEY",
  authDomain: "YOUR_PROJECT_ID.firebaseapp.com",
  projectId: "YOUR_PROJECT_ID",
  storageBucket: "YOUR_PROJECT_ID.appspot.com",
  messagingSenderId: "YOUR_SENDER_ID",
  appId: "YOUR_APP_ID"
};

const app      = initializeApp(firebaseConfig);
const auth     = getAuth(app);
const provider = new GoogleAuthProvider(); // Initialize the Google provider
Step 5: Implement Google Sign-In with Popup
This is the recommended approach for desktop and most web apps. A Google account selection popup opens and closes automatically after sign-in:
app.js
// ---- GOOGLE SIGN-IN (POPUP) ----
const googleBtn = document.getElementById("google-signin-btn");

if (googleBtn) {
  googleBtn.addEventListener("click", async () => {
    try {
      const result = await signInWithPopup(auth, provider);

      // Get the Google OAuth access token
      const credential = GoogleAuthProvider.credentialFromResult(result);
      const token      = credential.accessToken;

      // Get the signed-in user's profile info
      const user = result.user;
      console.log("Name:",  user.displayName);
      console.log("Email:", user.email);
      console.log("Photo:", user.photoURL);
      console.log("UID:",   user.uid);

      // Redirect to dashboard
      window.location.href = "dashboard.html";

    } catch (error) {
      handleGoogleAuthError(error);
    }
  });
}
Step-by-Step Breakdown
This code makes a "Sign in with Google" button work on your webpage. When clicked, it opens a
Google popup, logs the
user in, and redirects them to dashboard.html.
1. Grab the button from the page
app.js
const googleBtn = document.getElementById("google-signin-btn");
Finds the Google sign-in button in your HTML by its ID and stores it in a variable.
2. Check if the button actually exists
app.js
if (googleBtn) { ... }
A safety check — runs the code only if the button is found on the page. Prevents crashes on pages that don't have this button.
3. Listen for a click
app.js
googleBtn.addEventListener("click", async () => { ... });
Waits for the user to click the button, then runs the async function (async means it can handle waiting — like waiting for Google to respond).
4. Open the Google sign-in popup/strong>
app.js
const result = await signInWithPopup(auth, provider);
Opens a Google popup window asking the user to choose/sign into their Google account. await pauses until the user finishes.
5. Extract the access token
app.js
const credential = GoogleAuthProvider.credentialFromResult(result);
const token = credential.accessToken;
Pulls out the access token — a temporary key Google gives you to verify the login is real. Useful for making further Google API calls.
6. Get the user's profile info
app.js
const user = result.user;
console.log("Name:",  user.displayName);
console.log("Email:", user.email);
console.log("Photo:", user.photoURL);
console.log("UID:",   user.uid);
displayName— their full nameemail— their Gmail addressphotoURL— their profile picture linkuid— a unique ID Firebase assigns to every user (used for database operations)
7. Redirect to dashboard
app.js
window.location.href = "dashboard.html";
After successful login, automatically sends the user to your dashboard page.
8. Handle errors gracefully
app.js
} catch (error) {
  handleGoogleAuthError(error);
}
If anything goes wrong (user closes the popup, network error, etc.), it catches the error and passes it to your custom handleGoogleAuthError() function instead of crashing.
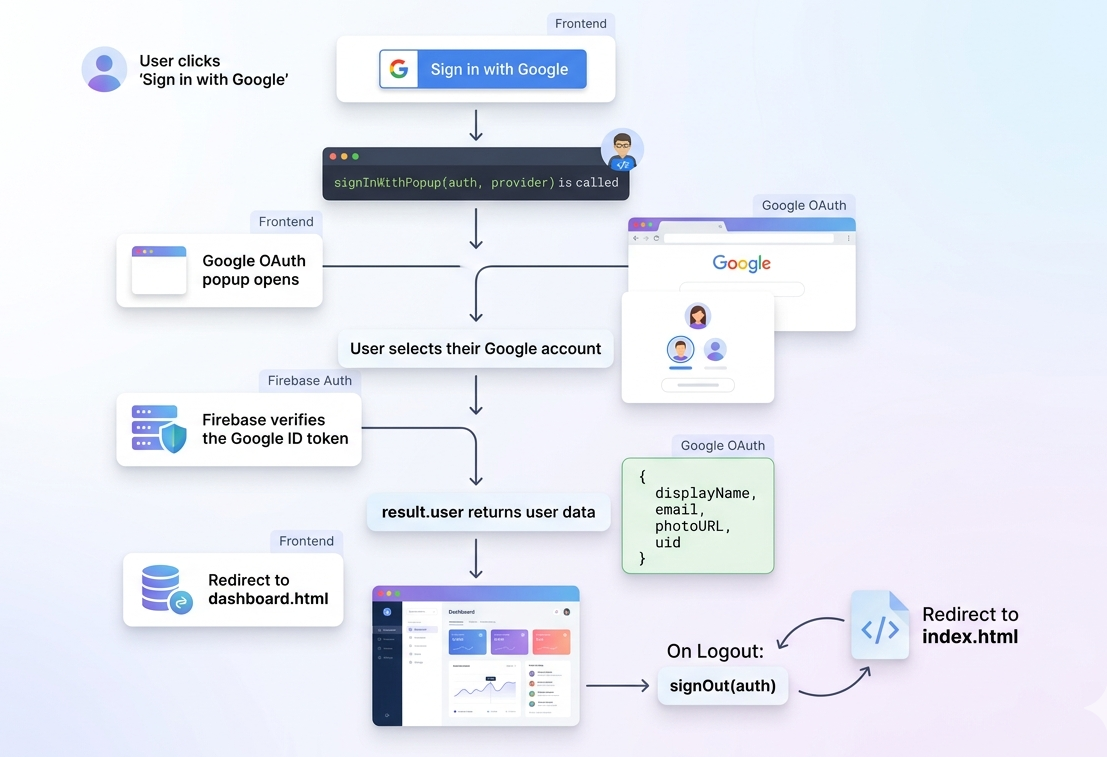
Quick Flow Summary
User clicks button
    ⟶  Google popup opens
    ⟶  User picks account
    ⟶  Firebase returns user info + token
    ⟶  Logged to console
    ⟶  Redirect to dashboard.html
    ⟶  (If anything fails ⟶  show error)
This is a standard Firebase Authentication pattern you'll reuse across most of your projects — the same flow works for any Firebase-powered app like your DevspireHub or Flask integrations.
Step 6: (Alternative) Google Sign-In with Redirect
Use this method for mobile browsers and PWAs where popups may be blocked:
Step-by-Step Breakdown
This code handles Google Sign-In using a redirect flow — instead of a pop-up window, the user gets sent to Google's login page and brought back to your app after signing in.
Part 1 — Starting the Sign-In
app.js
async function signInWithGoogleRedirect() {
  await signInWithRedirect(auth, provider);
}
- When a user clicks "Sign in with Google", this function is called.
signInWithRedirect(auth, provider)tells Firebase: "Send the user to Google's login page".- The entire page navigates away to Google — no pop-up, just a full redirect.
- If something goes wrong before the redirect, the error is logged to console.
Part 2 — Handling the Return
app.js
getRedirectResult(auth)
  .then((result) => { ... })
  .catch((error) => { ... });
This block runs automatically every time the page loads. Here's the flow:
- After the user picks their Google account, Google sends them back to your page.
- Firebase catches the returning result via
getRedirectResult(auth). - If
resultexists (meaning login was successful), it extractsresult.user— which contains info like the user's email. - It then sends the user to
dashboard.htmlviawindow.location.href. - If something fails (wrong account, network error, etc.),
handleGoogleAuthError(error)is called.
The Flow, Step by Step
User clicks "Sign In"
        ↓
signInWithGoogleRedirect() is called
        ↓
Page leaves your site ⟶  goes to Google Login
        ↓
User picks their Google account
        ↓
Google sends user BACK to your page
        ↓
getRedirectResult() fires on page load
        ↓
Login confirmed ⟶  redirect to dashboard.html
Always call getRedirectResult() on every page load if using
redirect — this is how Firebase delivers the auth result
after the page returns from Google.
Step 7: Display User Profile on Dashboard
Google Sign-In provides richer user profile data than email/password. Display it on your dashboard:
app.js
// ---- SHOW GOOGLE USER PROFILE ON DASHBOARD ----
onAuthStateChanged(auth, (user) => {
  if (user) {
    // Display name and profile picture (from Google)
    const nameEl  = document.getElementById("user-name");
    const emailEl = document.getElementById("user-email");
    const photoEl = document.getElementById("user-photo");

    if (nameEl)  nameEl.textContent  = "Hello, " + (user.displayName || "User");
    if (emailEl) emailEl.textContent = user.email;
    if (photoEl && user.photoURL) {
      photoEl.src     = user.photoURL;
      photoEl.style.display = "block";
    }
  } else {
    // Protect the page
    if (window.location.pathname.includes("dashboard.html")) {
      window.location.href = "index.html";
    }
  }
});
Step-by-Step Breakdown
This code watches whether a user is logged in or not, and reacts accordingly — either showing their profile info or kicking them out of the dashboard.
onAuthStateChanged — The Watcher
Google Sign-In provides richer user profile data than email/password. Display it on your dashboard:
app.js
onAuthStateChanged(auth, (user) => { ... })
This is a Firebase listener that constantly watches the login state. Think of it as a security guard standing at the door — every time the page loads, it checks: "Is someone logged in?
If User is Logged In (if (user))
app.js
const nameEl = document.getElementById("user-name");
const emailEl = document.getElementById("user-email");
const photoEl = document.getElementById("user-photo");
These three lines grab HTML elements from the page by their IDs — the spots where the name, email, and profile photo will be displayed.
app.js
if (nameEl) nameEl.textContent = "Hello, " + (user.displayName || "User");
Sets the name element to say "Hello, [Name]". If Google didn't provide a display name, it falls back to just "User".
app.js
if (emailEl) emailEl.textContent = user.email;
Fills in the email address from the Google account.
app.js
if (photoEl && user.photoURL) {
  photoEl.src = user.photoURL;
  photoEl.style.display = "block";
}
Sets the profile picture using the Google account photo URL, and makes it visible (it might be hidden by default).
If User is NOT Logged In (else)
app.js
if (window.location.pathname.includes("dashboard.html")) {
  window.location.href = "index.html";
}
If someone tries to visit dashboard.html without being logged in, they get automatically redirected to index.html (the login/home page). This is a basic page protection mechanism.
Updated dashboard.html
dashboard.html
<main>
  <h1>Dashboard</h1>

  <!-- Google profile info -->
  <img id="user-photo" src="" alt="Profile Picture"
       style="display:none; width:64px; height:64px; border-radius:50%;" />
  <p id="user-name">Loading...</p>
  <p id="user-email"></p>

  <button id="logout-btn">Logout</button>
</main>

<script type="module" src="app.js"></script>
Step 8: Sign Out Google Users
Logout is identical for Google-authenticated users — signOut() is provider-agnostic:
app.js
// ---- LOGOUT (works for Google + Email/Password users) ----
const logoutBtn = document.getElementById("logout-btn");

if (logoutBtn) {
  logoutBtn.addEventListener("click", async () => {
    try {
      await signOut(auth);
      window.location.href = "index.html";
    } catch (error) {
      alert("Logout failed: " + error.message);
    }
  });
}
Step-by-Step Breakdown
When a user clicks the logout button, it signs them out of Firebase (works for both Google and Email/Password accounts) and redirects them to the homepage.
app.js
const logoutBtn = document.getElementById("logout-btn");
Finds the logout button on the page using its id.
app.js
if (logoutBtn) {
Checks if the button actually exists on the page before doing anything — prevents errors if the button is missing.
app.js
logoutBtn.addEventListener("click", async () => {
Waits and listens for the user to click the button. async means the
function can handle waiting (for Firebase to
respond).
app.js
window.location.href = "index.html";
After logout succeeds, redirects the user to index.html (your homepage/login page).
app.js
} catch (error) {
  alert("Logout failed: " + error.message);
}
If anything goes wrong (e.g., network issue), it catches the error and shows an alert with the reason instead of silently failing.
app.js
const logoutBtn = document.getElementById("logout-btn");
Finds the logout button on the page using its id.
💡 Note: signOut() only ends the Firebase session. It does not sign the user out of their Google account in the browser. The next time they click "Sign in with Google", they may be auto-signed back in if Google remembers their session.
Step 9: Customize the Google Provider (Optional)
You can configure the GoogleAuthProvider to request specific OAuth scopes or force account selection:
app.js
const provider = new GoogleAuthProvider();

// Request access to the user's Google Calendar (optional scope)
provider.addScope("https://www.googleapis.com/auth/calendar.readonly");

// Force the account chooser to appear even if already signed in
provider.setCustomParameters({
  prompt: "select_account"
});
Step 10: Handle Google Auth Errors
app.js
// ---- GOOGLE AUTH ERROR HANDLER ----
function handleGoogleAuthError(error) {
  const msgs = {
    "auth/popup-closed-by-user":       "Sign-in popup was closed. Please try again.",
    "auth/popup-blocked":              "Popup was blocked by your browser. Allow popups and retry.",
    "auth/account-exists-with-different-credential":
                                       "An account already exists with this email using a different sign-in method.",
    "auth/cancelled-popup-request":    "Another popup is already open.",
    "auth/network-request-failed":     "Network error. Please check your connection.",
    "auth/unauthorized-domain":        "This domain is not authorized. Add it in Firebase Console ⟶  Authentication ⟶  Settings."
  };

  const message = msgs[error.code] || "Google Sign-In failed. Please try again.";
  alert(message);
  console.error(error.code, error.message);
}
Complete Google Sign-In Flow (Visual Summary)
Complete app.js (All Auth Methods Combined)
app.js
import { initializeApp } from "https://www.gstatic.com/firebasejs/10.8.0/firebase-app.js";
import {
  getAuth,
  GoogleAuthProvider,
  signInWithPopup,
  createUserWithEmailAndPassword,
  signInWithEmailAndPassword,
  onAuthStateChanged,
  signOut
} from "https://www.gstatic.com/firebasejs/10.8.0/firebase-auth.js";

const firebaseConfig = {
  apiKey: "YOUR_API_KEY",
  authDomain: "YOUR_PROJECT_ID.firebaseapp.com",
  projectId: "YOUR_PROJECT_ID",
  storageBucket: "YOUR_PROJECT_ID.appspot.com",
  messagingSenderId: "YOUR_SENDER_ID",
  appId: "YOUR_APP_ID"
};

const app      = initializeApp(firebaseConfig);
const auth     = getAuth(app);
const provider = new GoogleAuthProvider();
provider.setCustomParameters({ prompt: "select_account" });

// Auth State
onAuthStateChanged(auth, (user) => {
  const path = window.location.pathname;
  if (user) {
    const nameEl  = document.getElementById("user-name");
    const emailEl = document.getElementById("user-email");
    const photoEl = document.getElementById("user-photo");
    if (nameEl)  nameEl.textContent = "Hello, " + (user.displayName || user.email);
    if (emailEl) emailEl.textContent = user.email;
    if (photoEl && user.photoURL) { photoEl.src = user.photoURL; photoEl.style.display = "block"; }
    if (path.includes("index.html") || path.includes("signup.html")) window.location.href = "dashboard.html";
  } else {
    if (path.includes("dashboard.html")) window.location.href = "index.html";
  }
});

// Google Sign-In
const googleBtn = document.getElementById("google-signin-btn");
if (googleBtn) {
  googleBtn.addEventListener("click", async () => {
    try {
      await signInWithPopup(auth, provider);
      window.location.href = "dashboard.html";
    } catch (error) { handleGoogleAuthError(error); }
  });
}

// Email Sign-Up
const signupBtn = document.getElementById("signup-btn");
if (signupBtn) {
  signupBtn.addEventListener("click", () => {
    const email    = document.getElementById("email-signup").value.trim();
    const password = document.getElementById("password-signup").value.trim();
    createUserWithEmailAndPassword(auth, email, password)
      .then(() => { window.location.href = "index.html"; })
      .catch(handleAuthError);
  });
}

// Email Login
const loginBtn = document.getElementById("login-btn");
if (loginBtn) {
  loginBtn.addEventListener("click", () => {
    const email    = document.getElementById("email").value.trim();
    const password = document.getElementById("password").value.trim();
    signInWithEmailAndPassword(auth, email, password)
      .then(() => { window.location.href = "dashboard.html"; })
      .catch(handleAuthError);
  });
}

// Logout
const logoutBtn = document.getElementById("logout-btn");
if (logoutBtn) {
  logoutBtn.addEventListener("click", async () => {
    try { await signOut(auth); window.location.href = "index.html"; }
    catch (error) { alert("Logout failed: " + error.message); }
  });
}

// Error Handlers
function handleAuthError(error) {
  const msgs = {
    "auth/email-already-in-use": "Email already registered.",
    "auth/invalid-email":         "Invalid email address.",
    "auth/weak-password":         "Password must be at least 6 characters.",
    "auth/user-not-found":        "No account found with this email.",
    "auth/wrong-password":        "Incorrect password."
  };
  alert(msgs[error.code] || "An error occurred.");
}

function handleGoogleAuthError(error) {
  const msgs = {
    "auth/popup-closed-by-user":  "Popup closed. Please try again.",
    "auth/popup-blocked":         "Popup blocked. Allow popups in your browser.",
    "auth/account-exists-with-different-credential": "Account exists with a different sign-in method.",
    "auth/unauthorized-domain":   "Domain not authorized in Firebase Console."
  };
  alert(msgs[error.code] || "Google Sign-In failed.");
}
Common Google Sign-In Issues & Fixes
| Issue | Cause | Fix |
|---|---|---|
| Popup blocked | Browser popup blocker | Only call signInWithPopup()
inside a user
click event. |
| auth/unauthorized-domain | Domain not whitelisted | Add domain in Firebase Console ⟶ Authentication ⟶ Settings. |
| Auto-sign back in | Google session active | Use prompt: "select_account" in custom
parameters. |
| Blank popup flashes | Called outside click handler | Ensure trigger is a direct user-initiated button click. |
| Account exists (conflict) | Email used with Password | Link accounts using linkWithCredential()
logic. |
Conclusion
You have now successfully implemented Google Sign-In with Firebase Authentication in your JavaScript web app. Starting from enabling the Google provider in the Firebase Console, you built a complete auth flow — including popup and redirect sign-in methods, user profile display, sign-out handling, and robust error management — all without a backend server.
Key Takeaways
Keep these best practices in mind as you move forward:
- Always call
signInWithPopup()inside a direct user click event — never on page load — to prevent popup blockers from interfering. - Use
provider.setCustomParameters({ prompt: "select_account" })to force the Google account chooser, especially important in shared or multi-account environments. signOut()ends the Firebase session only — it does not log the user out of their Google account in the browser.- Add every domain you deploy to under Firebase Console ⟶ Authentication Settings ⟶ Authorized Domains before going live.
What's Next?
Now that your app supports both email/password and Google Sign-In, here are the natural next steps to build a production-ready system
- Save user profiles to Firestore — After sign-in, use
setDoc()with merge: true to store displayName, photoURL, and email in a users collection. - Add Phone Number Authentication — Firebase supports SMS-based OTP as a third login method.
- Implement account linking — Handle the auth/account-exists-with-different-credential
error by linking Google and
email/password accounts using
linkWithCredential(). - Secure Firestore rules — Use
request.auth.uidin Firestore Security Rules so only authenticated users can read/write their own data. - Deploy to production — Host your app via Firebase Hosting or Cloudflare Pages and add your live domain to the authorized list.
Frequently Asked Questions (FAQ)
Q: Does Google Sign-In create a new Firebase user automatically?
Yes — Firebase automatically creates a new user record the first time someone signs in with
Google. If the same email
already exists as an email/password user, Firebase throws
auth/account-exists-with-different-credential.
Q: Can I get the user's Google access token?
Yes — use GoogleAuthProvider.credentialFromResult(result) to extract
the credential, then read credential.accessToken.
This token can be used to call Google APIs directly.
Q: Does this work in React?
Absolutely. Replace the button click DOM listener with a React onClick handler and call
signInWithPopup() the same way.
The Firebase logic is identical.
Q: Is signInWithPopup free?
Yes — Google Sign-In via Firebase Auth is completely free with no usage limits on active users for the standard OAuth flow.
💡 Google Sign-In via Firebase Authentication is completely free with no usage limits on the standard OAuth flow, making it an ideal first step toward a full-featured, secure authentication system for any web app.
Other Projects
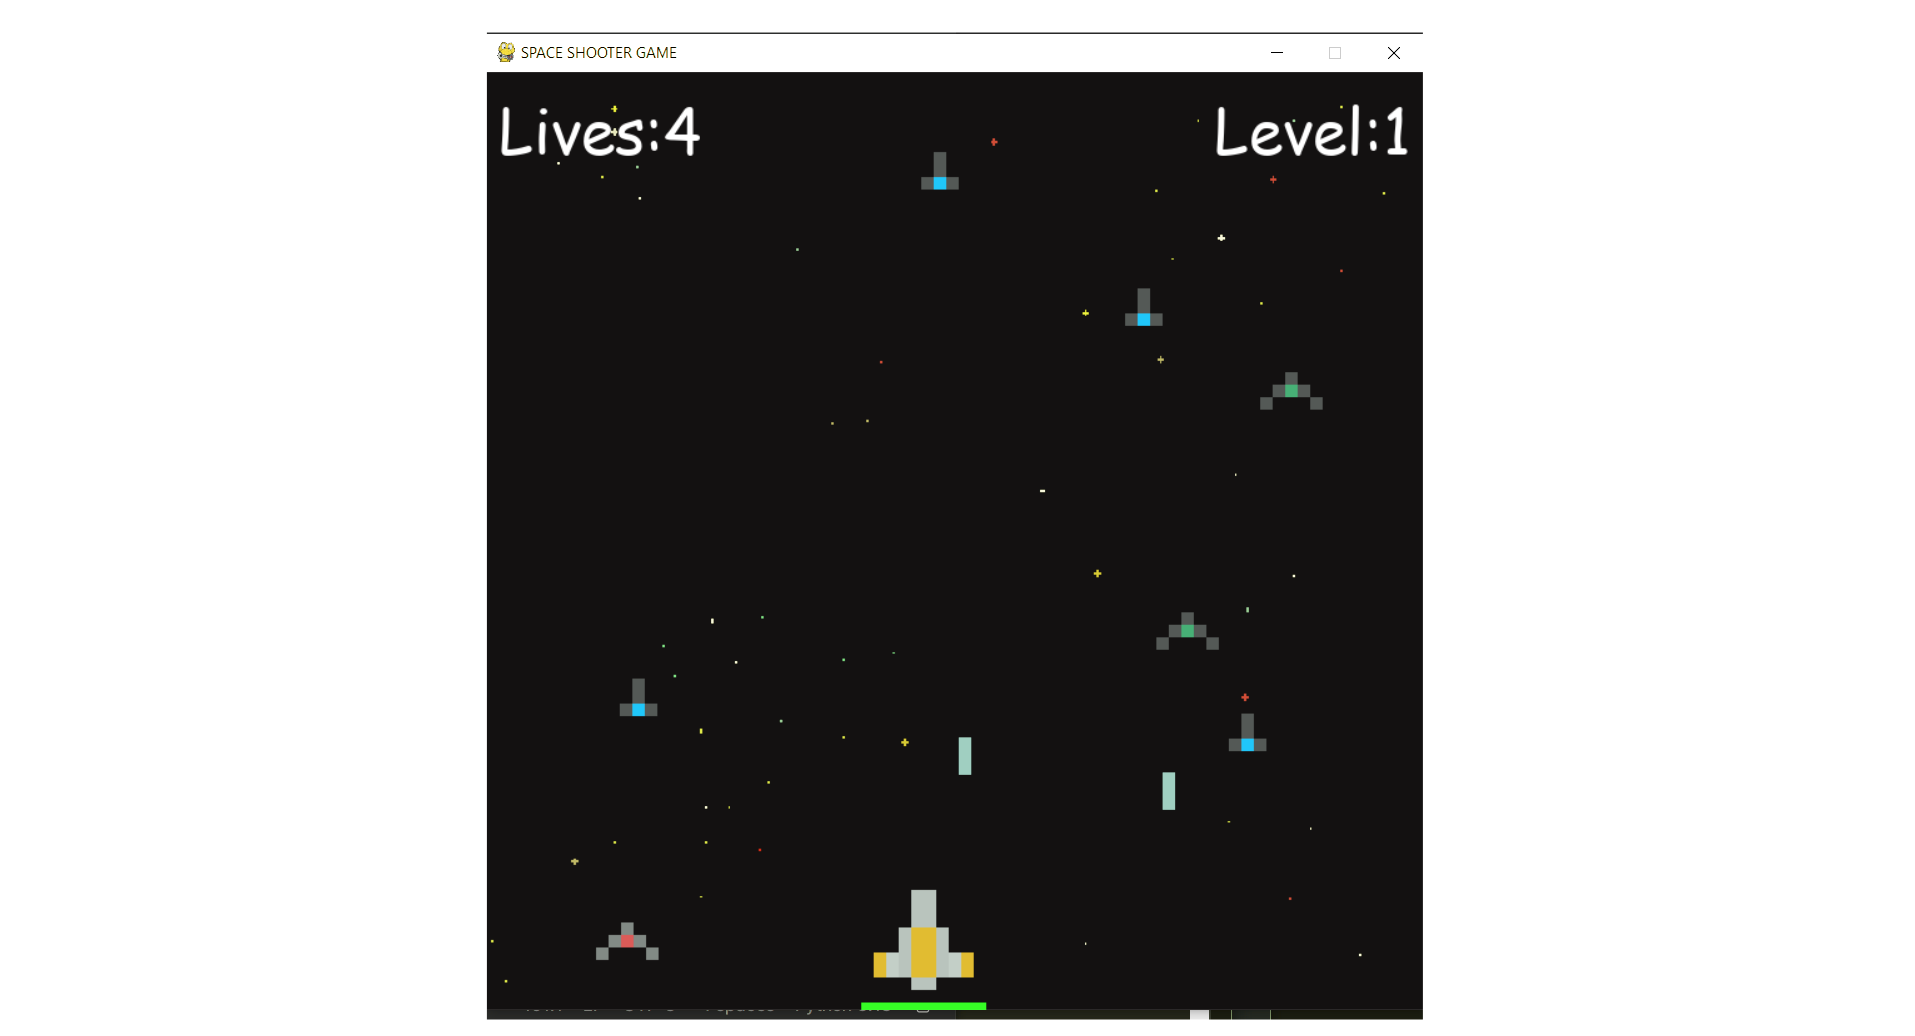
Shooter Game
This is a beginner-friendly guide for building a Space Shooter game with Python and Pygame, covering coding concepts and project structure.
View Project →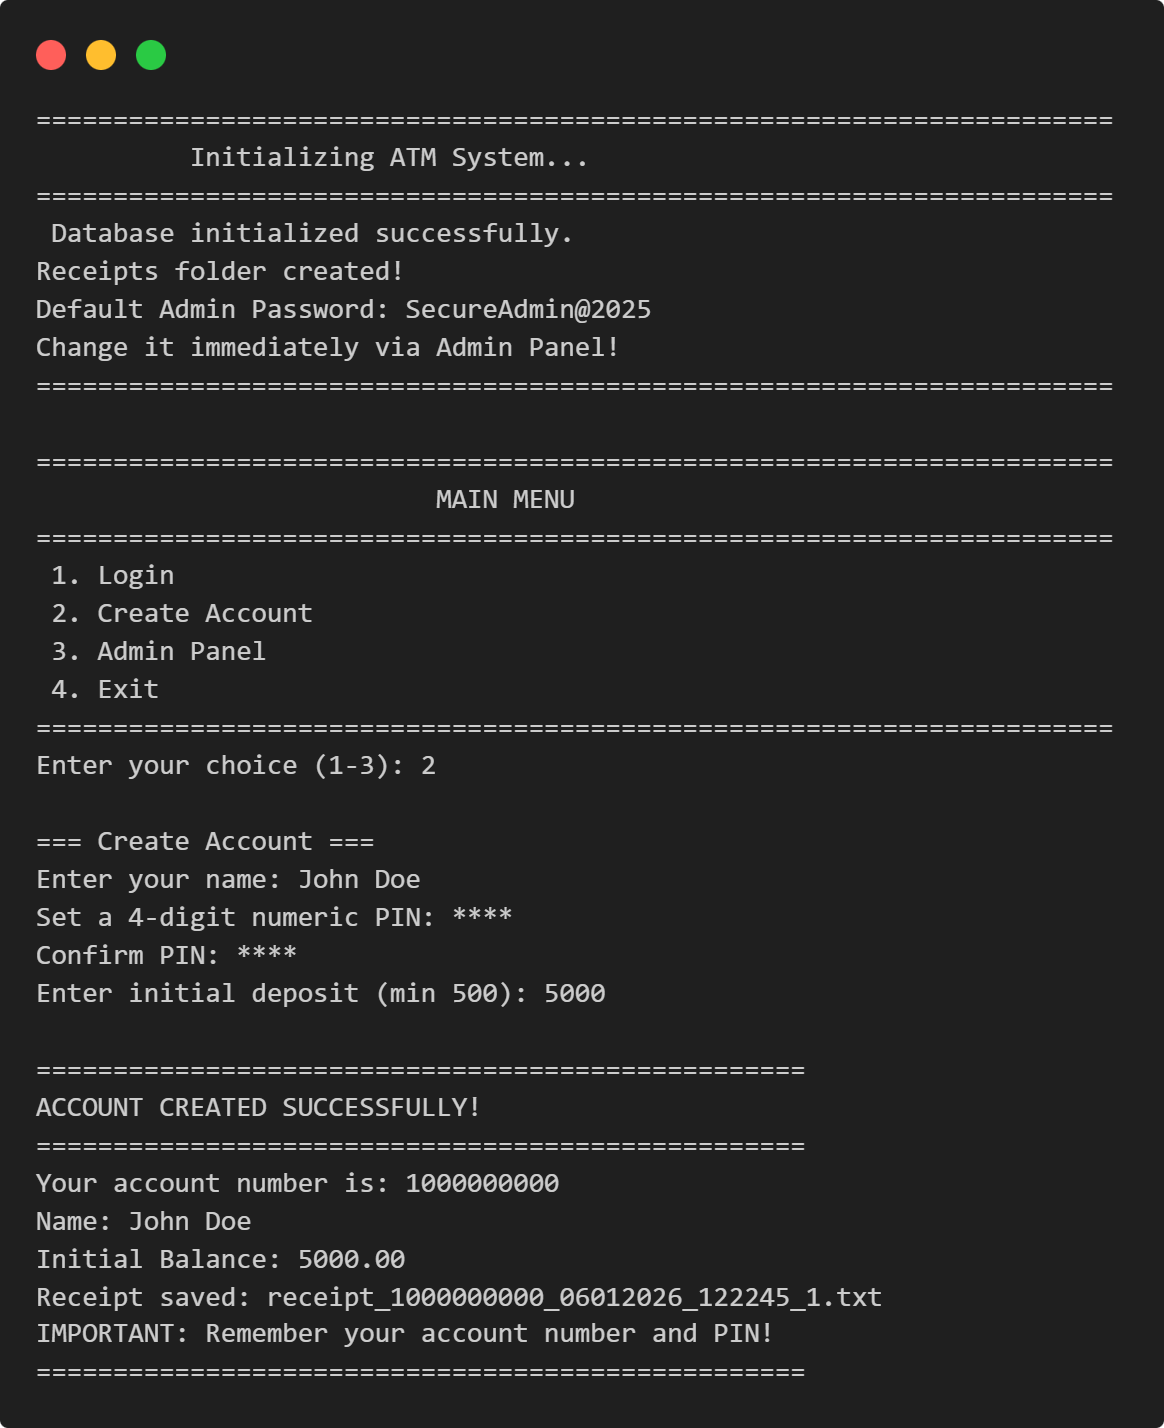
ATM Management System
This Python application implements a multi-user ATM system with SQLite-backed persistence, featuring account management, financial transactions, and administrative controls.
View Project →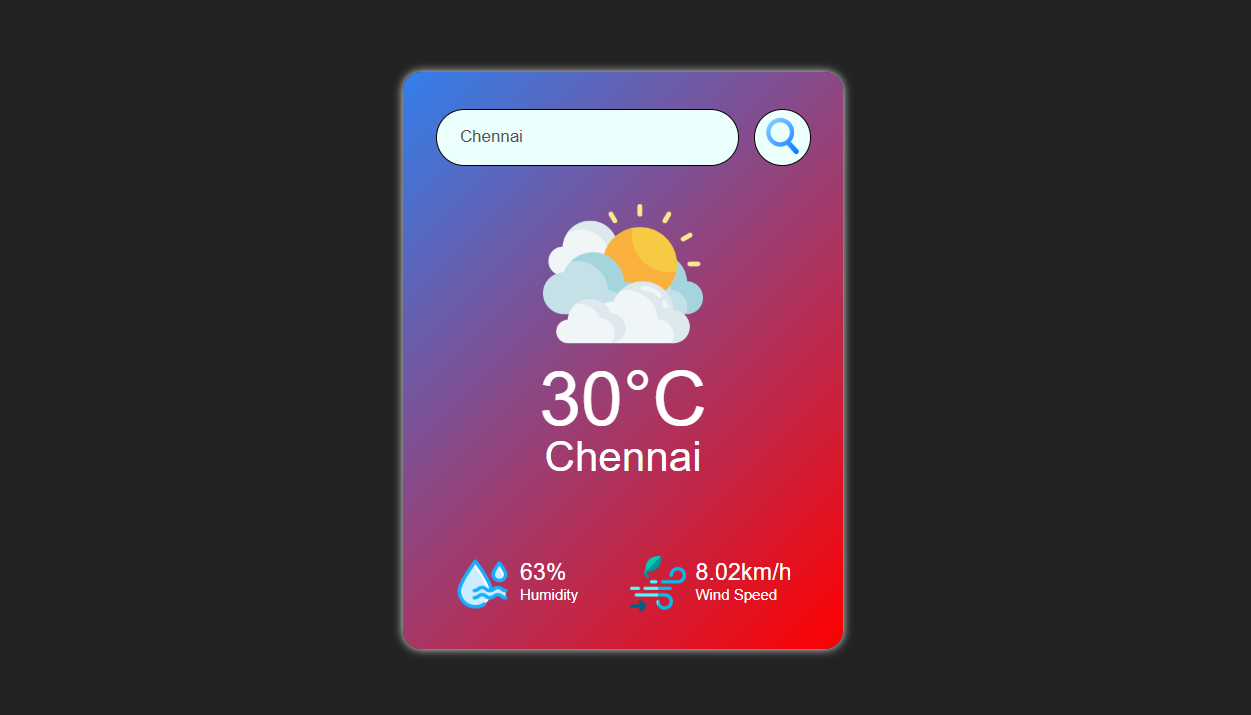
Weather App
Responsive weather app with real-time API data, feature comparison, and intuitive design for global city forecasts.
View Project →
Team Card App
Interactive team card application for cricket, featuring dynamic team selection, player filters, and customizable light/dark themes.
View Project →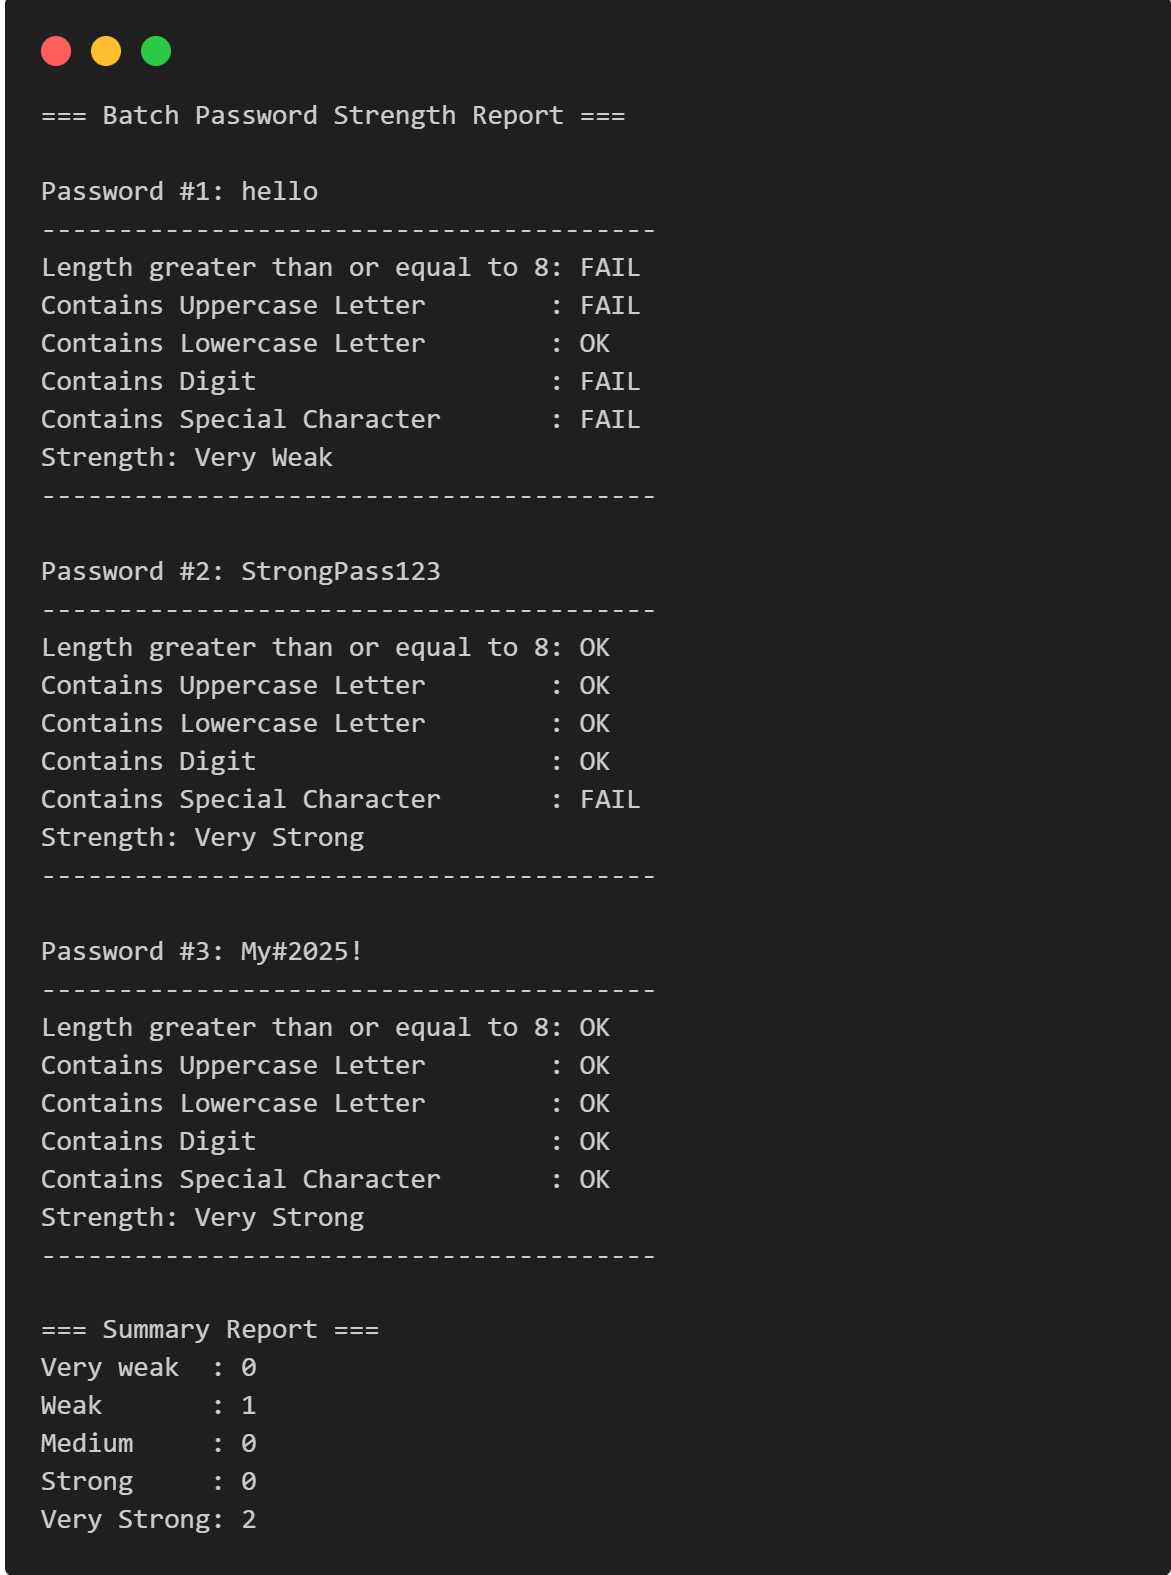
Password Strength Checker
Multi-Password Batch Strength Checker (C++), designed to check multiple passwords at once, show individual strength, and provide a summary report.
View Project →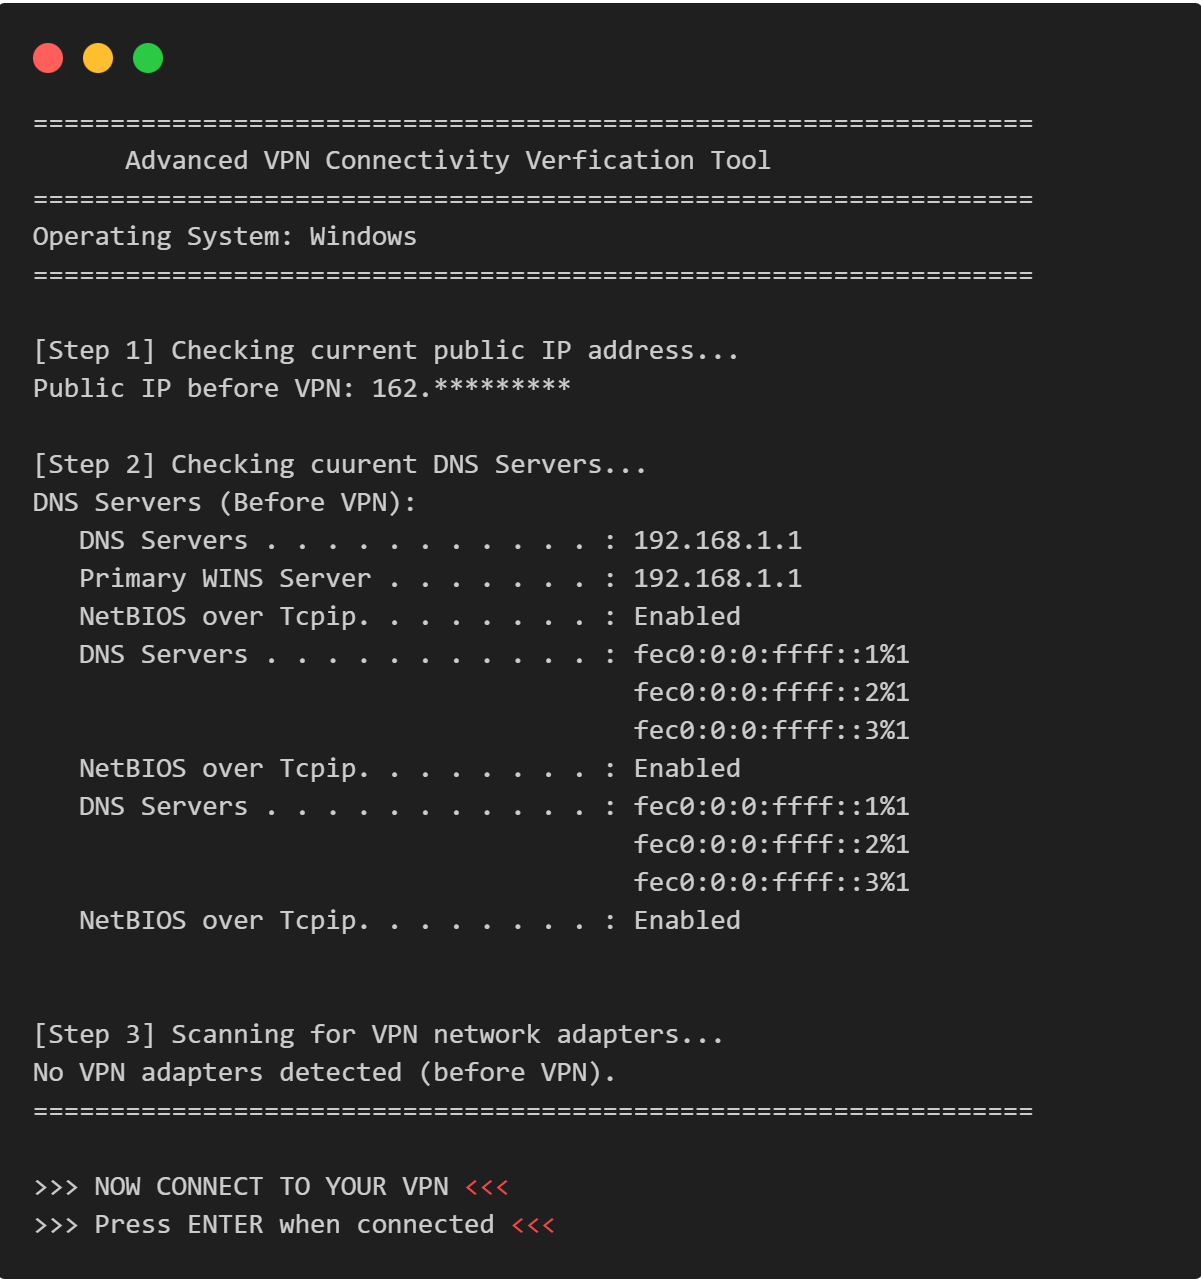
VPN Connectivity verification in C
Efficient C program to verify VPN status, routing, and DNS configurations through comprehensive public IP and network adapter analysis.
View Project →